
How to Hang Wallpaper
We’ve wallpapered a few areas of my house since moving in five years ago and my experience has been that the price for this work has grown tremendously in that time.
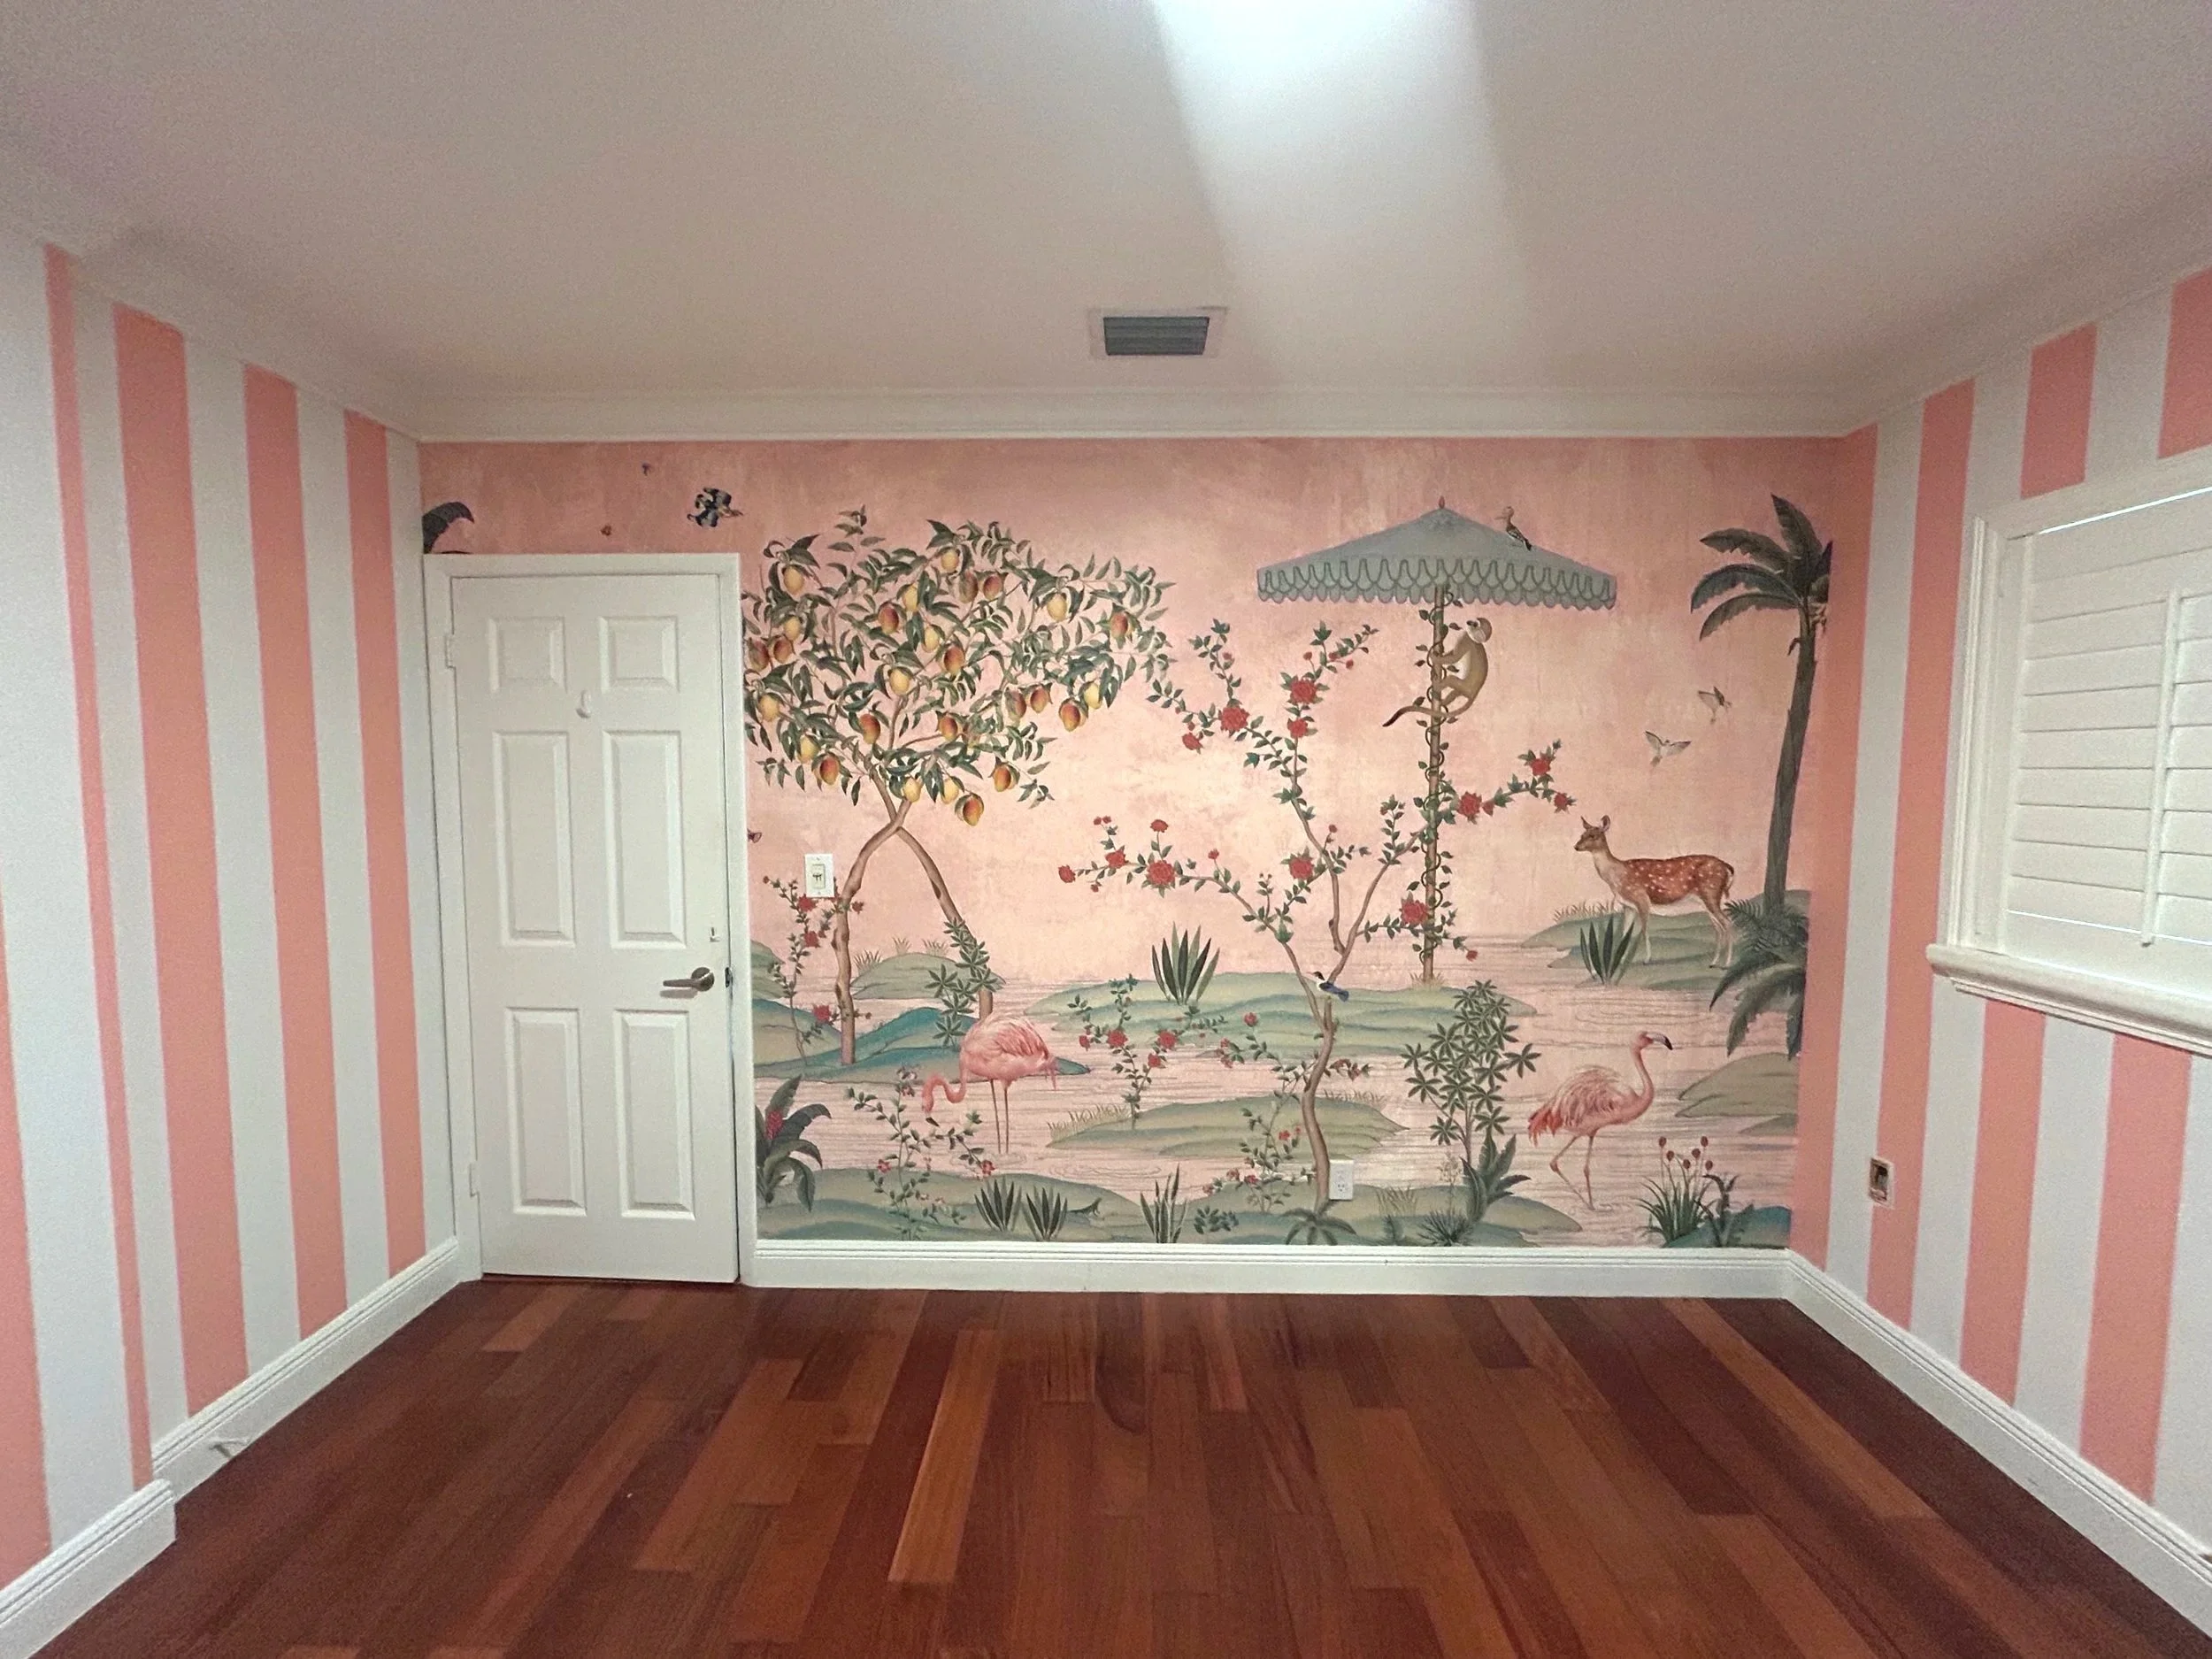
The quote for the nursery would have been at minimum, $1,200. I preferred to save that money and use it elsewhere and decided to hang the wallpaper on my own, with help from my mom and niece. This was my first time hanging wallpaper of this scale. While the finished result looks intricate, the process itself was very doable.
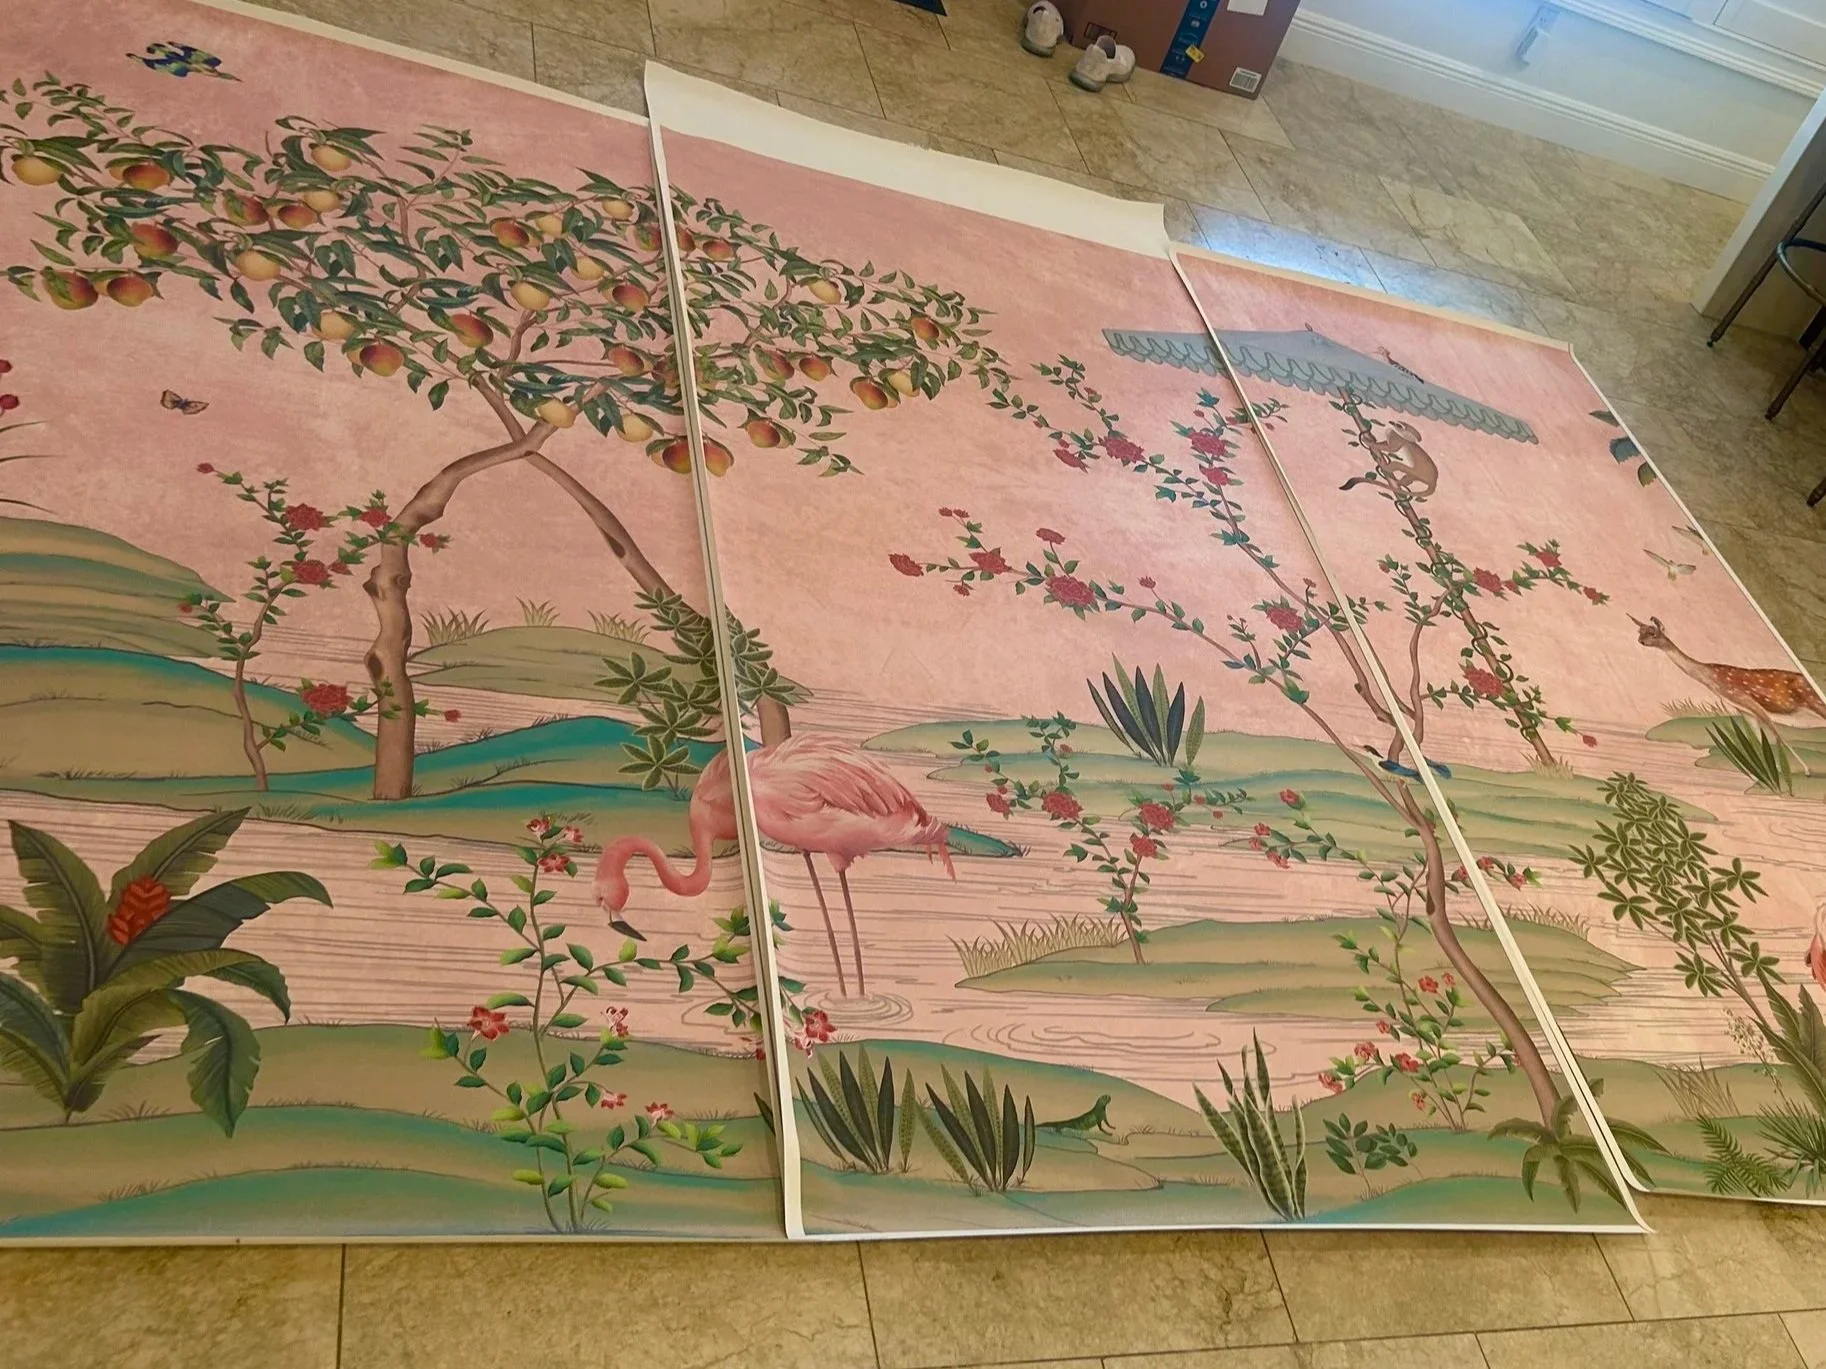
I chose the Gulbiya Pink Chinoiserie Wallpaper from LifeNColorsHomeDecor on Etsy. They ask you to message them with your wall size so they can customize the design to fit. This is where I made my first mistake and I caught it in step one once the paper arrived and I laid it out on the floor.
Step 1: Lay Everything Out Before You Touch the Wall
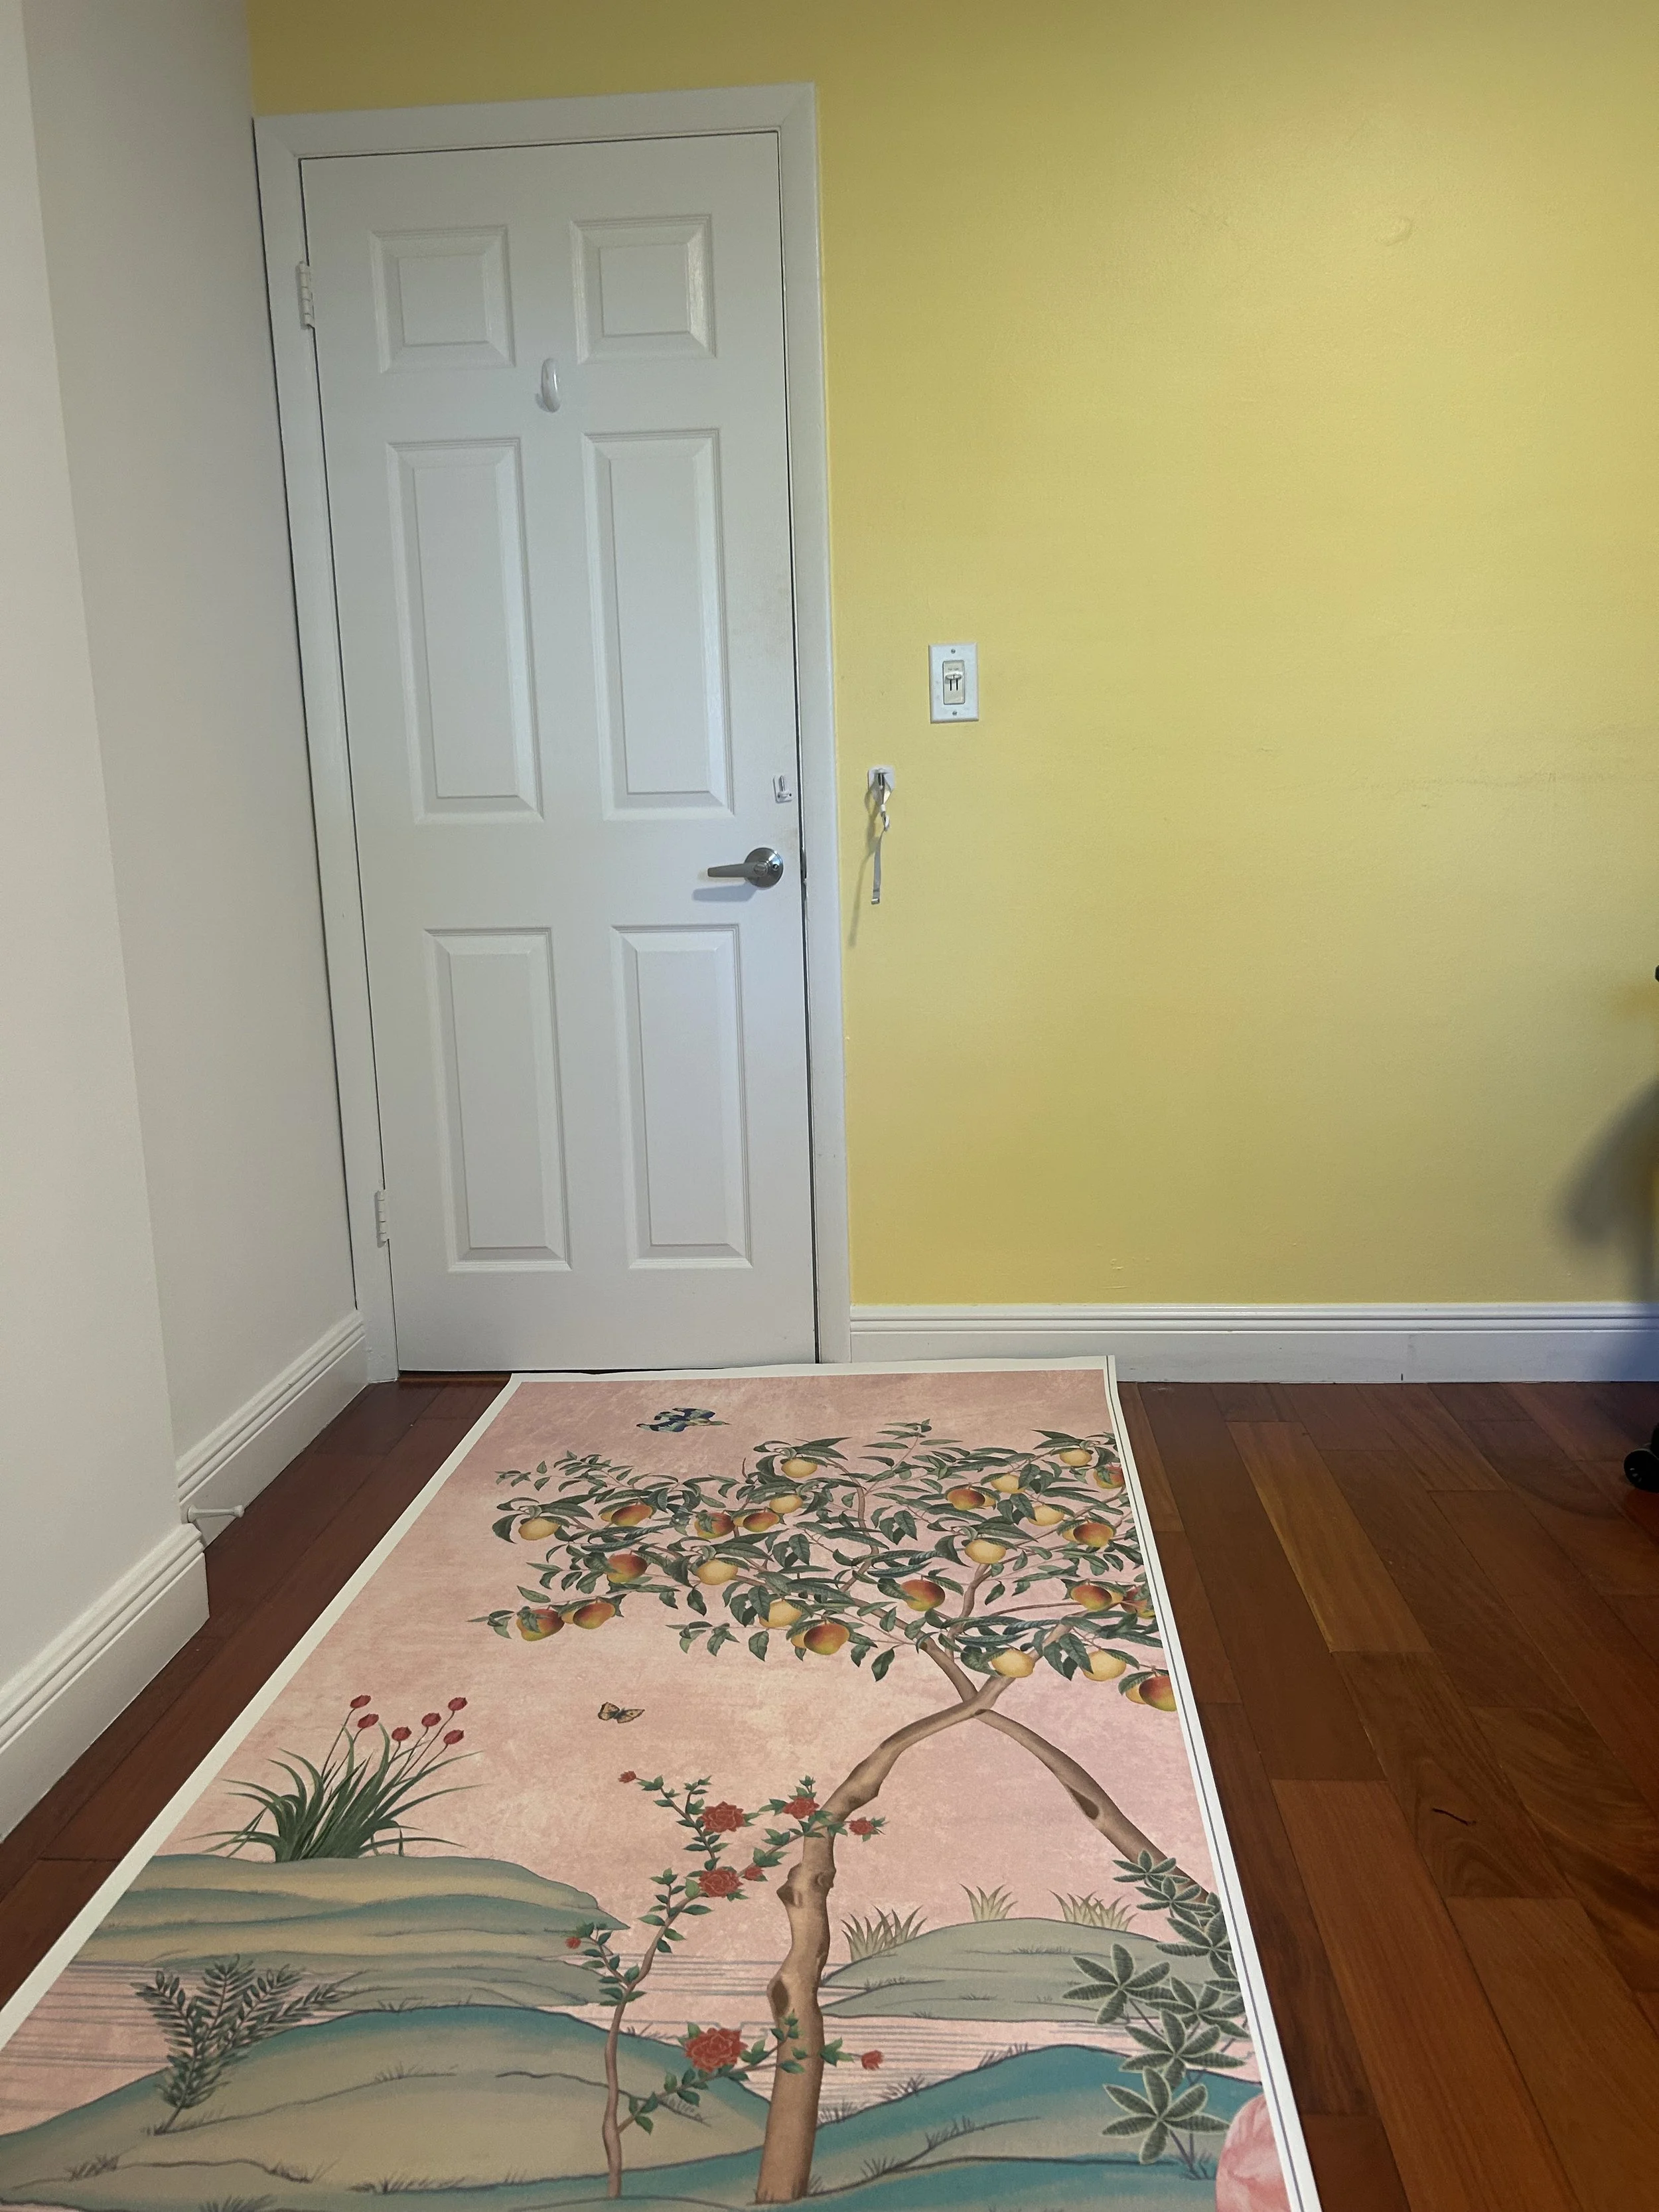
Before we applied any glue, we laid the panels out on the floor in order. With the design in front of me I realized that I hadn’t considered the wall starts with a door almost immediately at the corner. Because everything was laid out, I could see how the design interacted with the door and where the visual weight actually sat.
This meant I was going to lose the mango tree and a flamingo from the design. I was bummed!
I realized I could do start the design further inward on the wall and then use the sky from the fourth and rightmost panel on top of the door on the left. Phew, that was a close call.
If your wall includes doors or windows, factor that in before you order. Most wallpaper shops already customize panels based on wall size. You can also ask them to shift the artwork left or right so important elements don’t land where you’ll need to cut.
Step 2: Prep the Wall
Once the layout was clear:
The wall was clean, dry, and smooth
Outlet covers were removed
We made sure there was no dust or residue that would interfere with adhesion
Nothing complicated, but worth doing properly.
Step 3: Apply the Adhesive
For glue, I used Roman PRO-880 Strippable Clear Wallpaper Adhesive, which I’d absolutely use again.
We applied the adhesive directly to the wall using a roller, working one panel at a time so it didn’t dry before the paper went up.
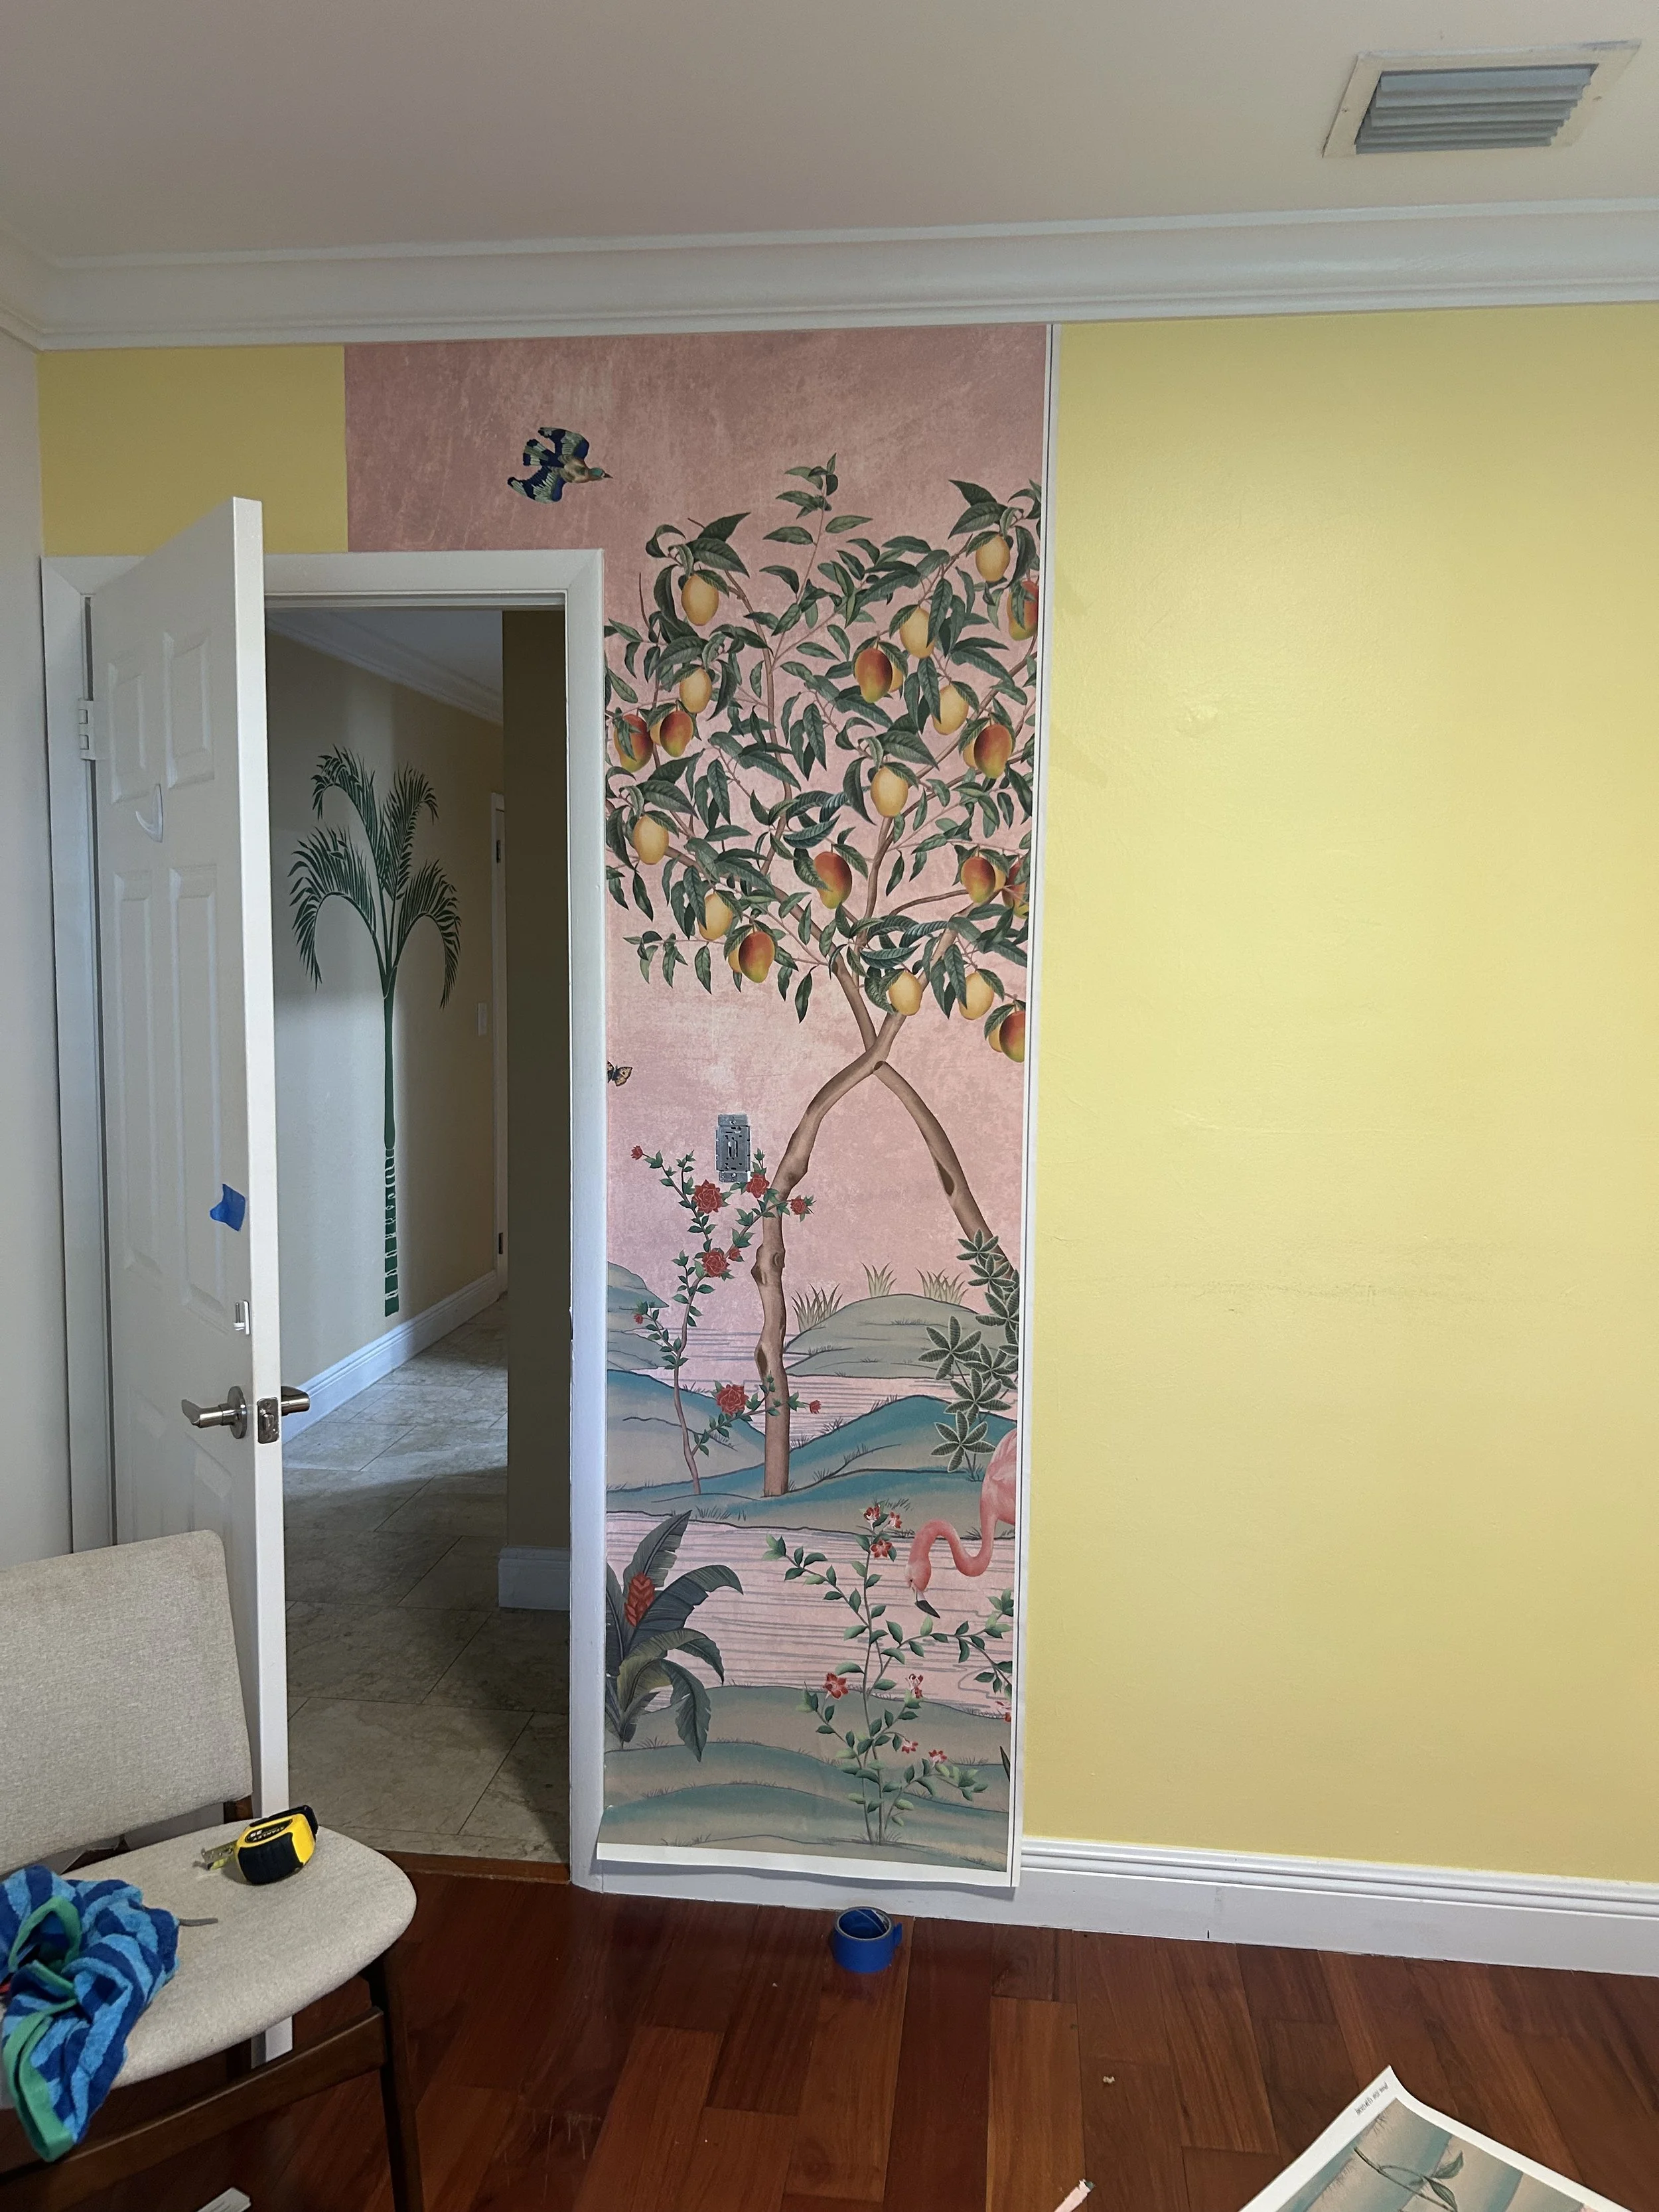
Step 4: Hang One Panel at a Time
Each panel was hung individually:
Align the top edge first
Smooth downward
Work from the center outward to push out air bubbles
Taking an extra minute to line up each panel saved a lot of fixing later. The adhesive takes a bit to dry so it is forgiving if you mess up on the alignment. You can easily peel the paper off the wall and reset it.
Step 5: Make the Cuts Slowly
Once a panel was in place, we trimmed along:
The ceiling
Baseboards
Door frames and outlets
A sharp utility knife is essential here. We changed blades more often than expected, and it made a big difference in getting clean edges.
Final Thoughts
Wallpaper isn’t difficult. Definitely think through how doors and windows affect the design, and asking for small custom adjustments upfront when ordering, and have someone on hand to help you.
Project Costs:
Roman PRO-880 Wallpaper Adhesive: $9.31
Art3D Wallpaper Hanging Kit: $5.99
Total Spend: $580.69