How to Add Caning to Closet Doors: A High-Impact DIY That Changes the Whole Room
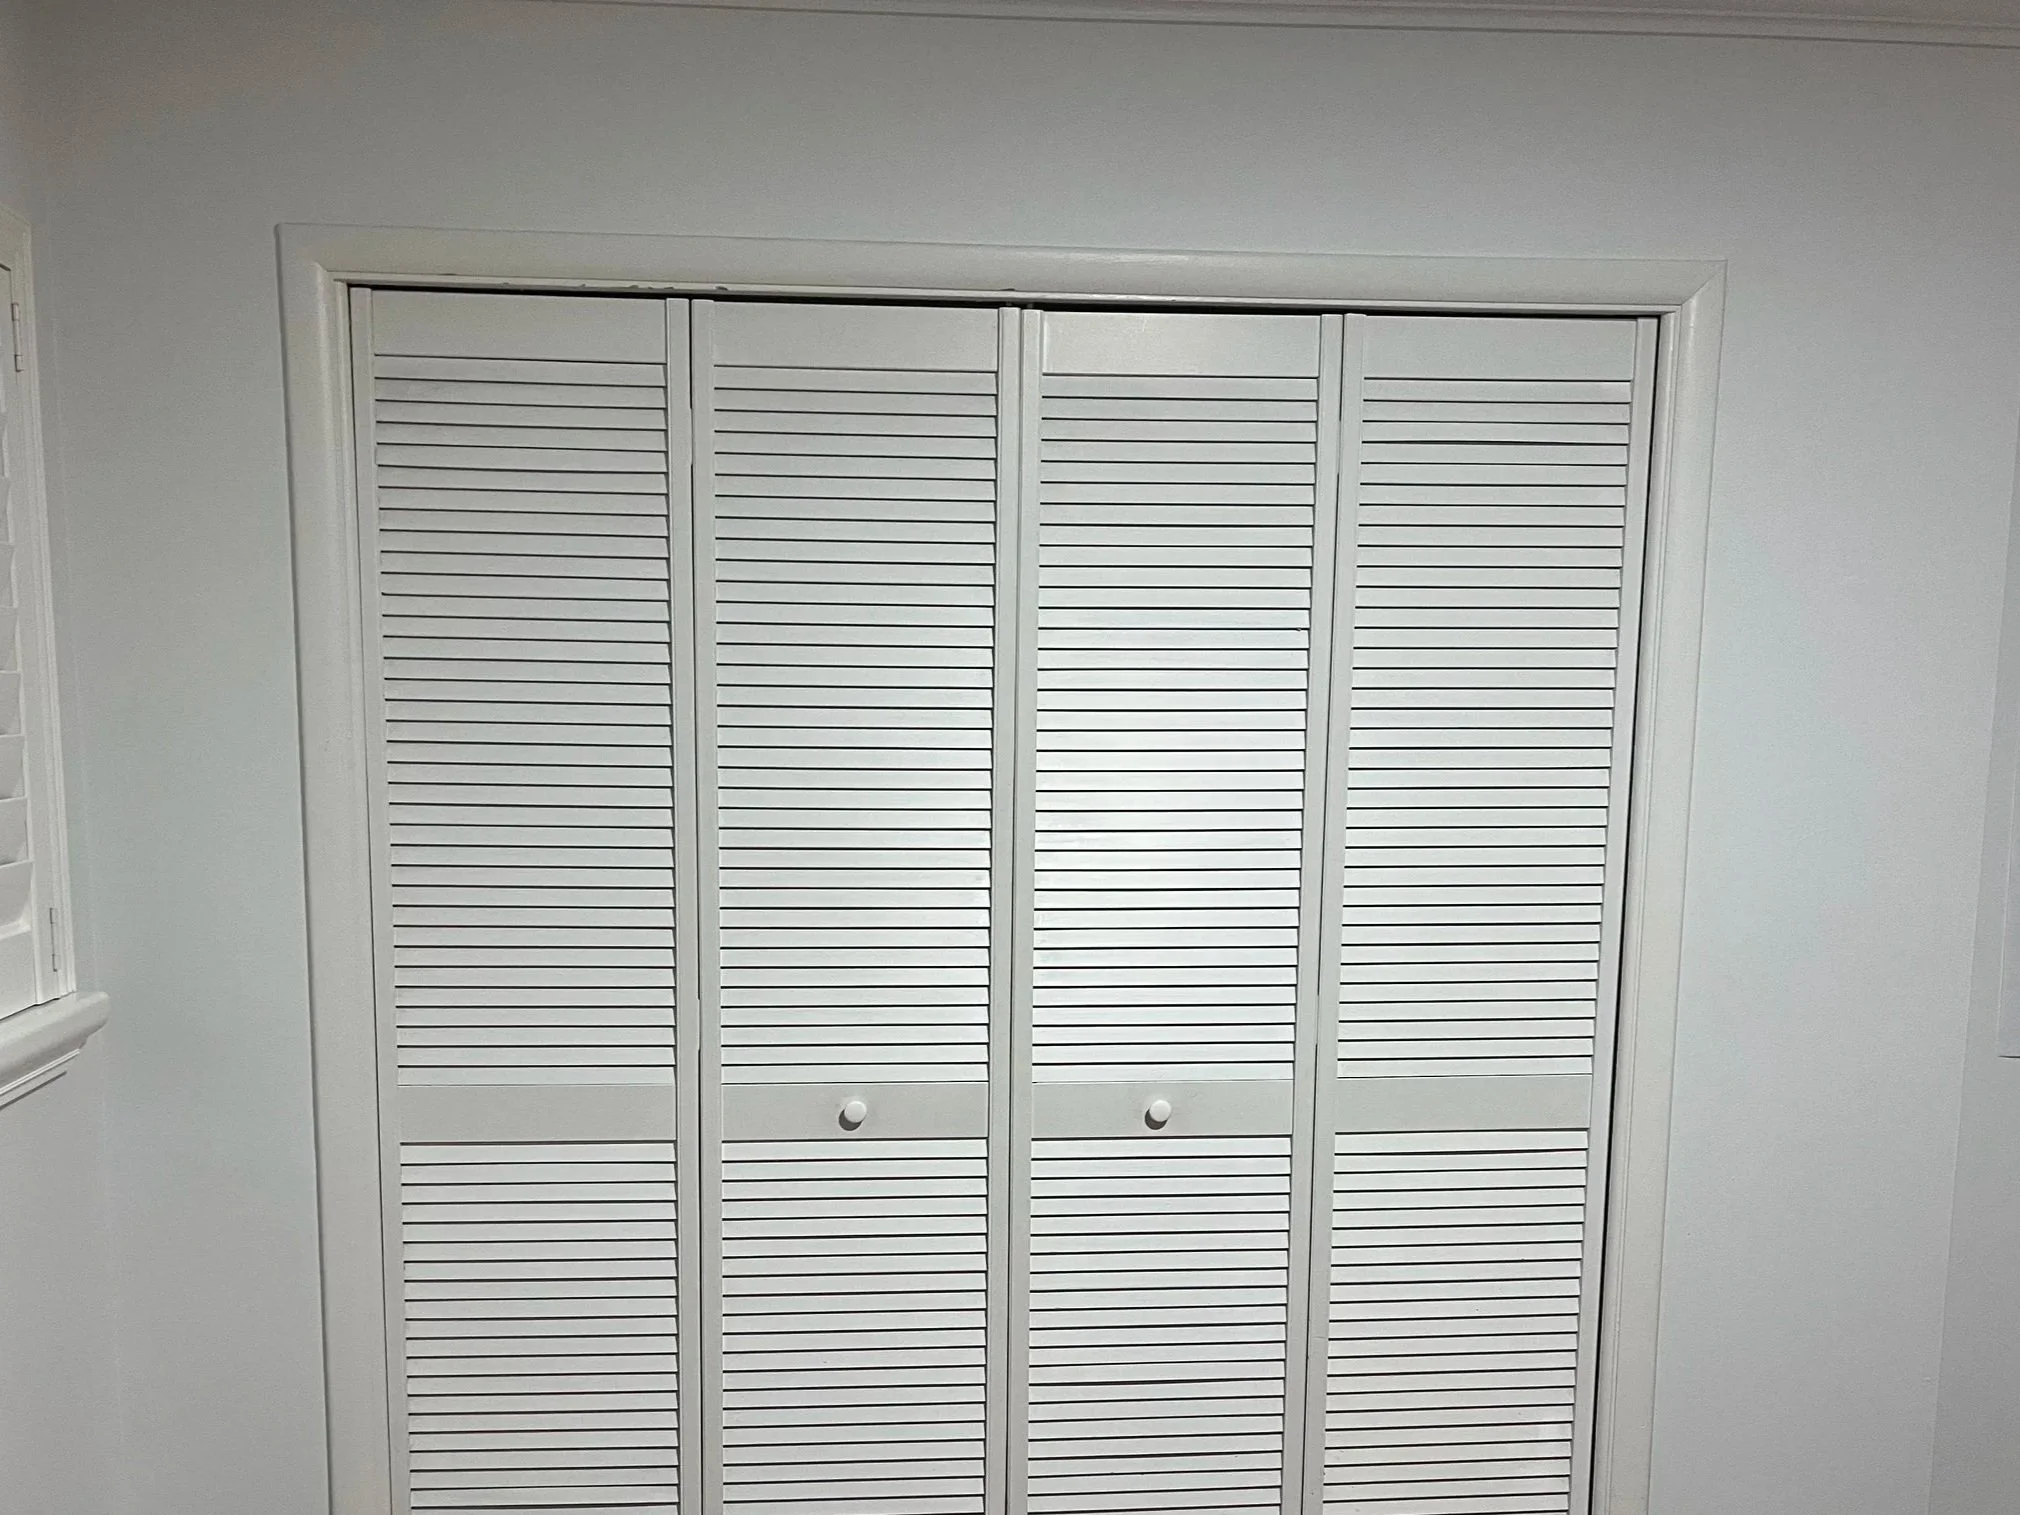
Before the nursery had wallpaper, before the cabana stripes, before any of the finishing touches, I knew I wanted to change the closet doors.
They were the one element that showed up across every mood board I made, even before I had settled on a theme. They felt classic but flexible. Elevated without being precious. They were also the part I felt most intimidated by, which usually means it’s the right place to start.
Replacing the slatted panels with cane ended up doing exactly what I hoped. It grounded the room, softened the white, and bought me time to think through the rest of the design. Once the doors were done, everything else felt easier.
Why Cane
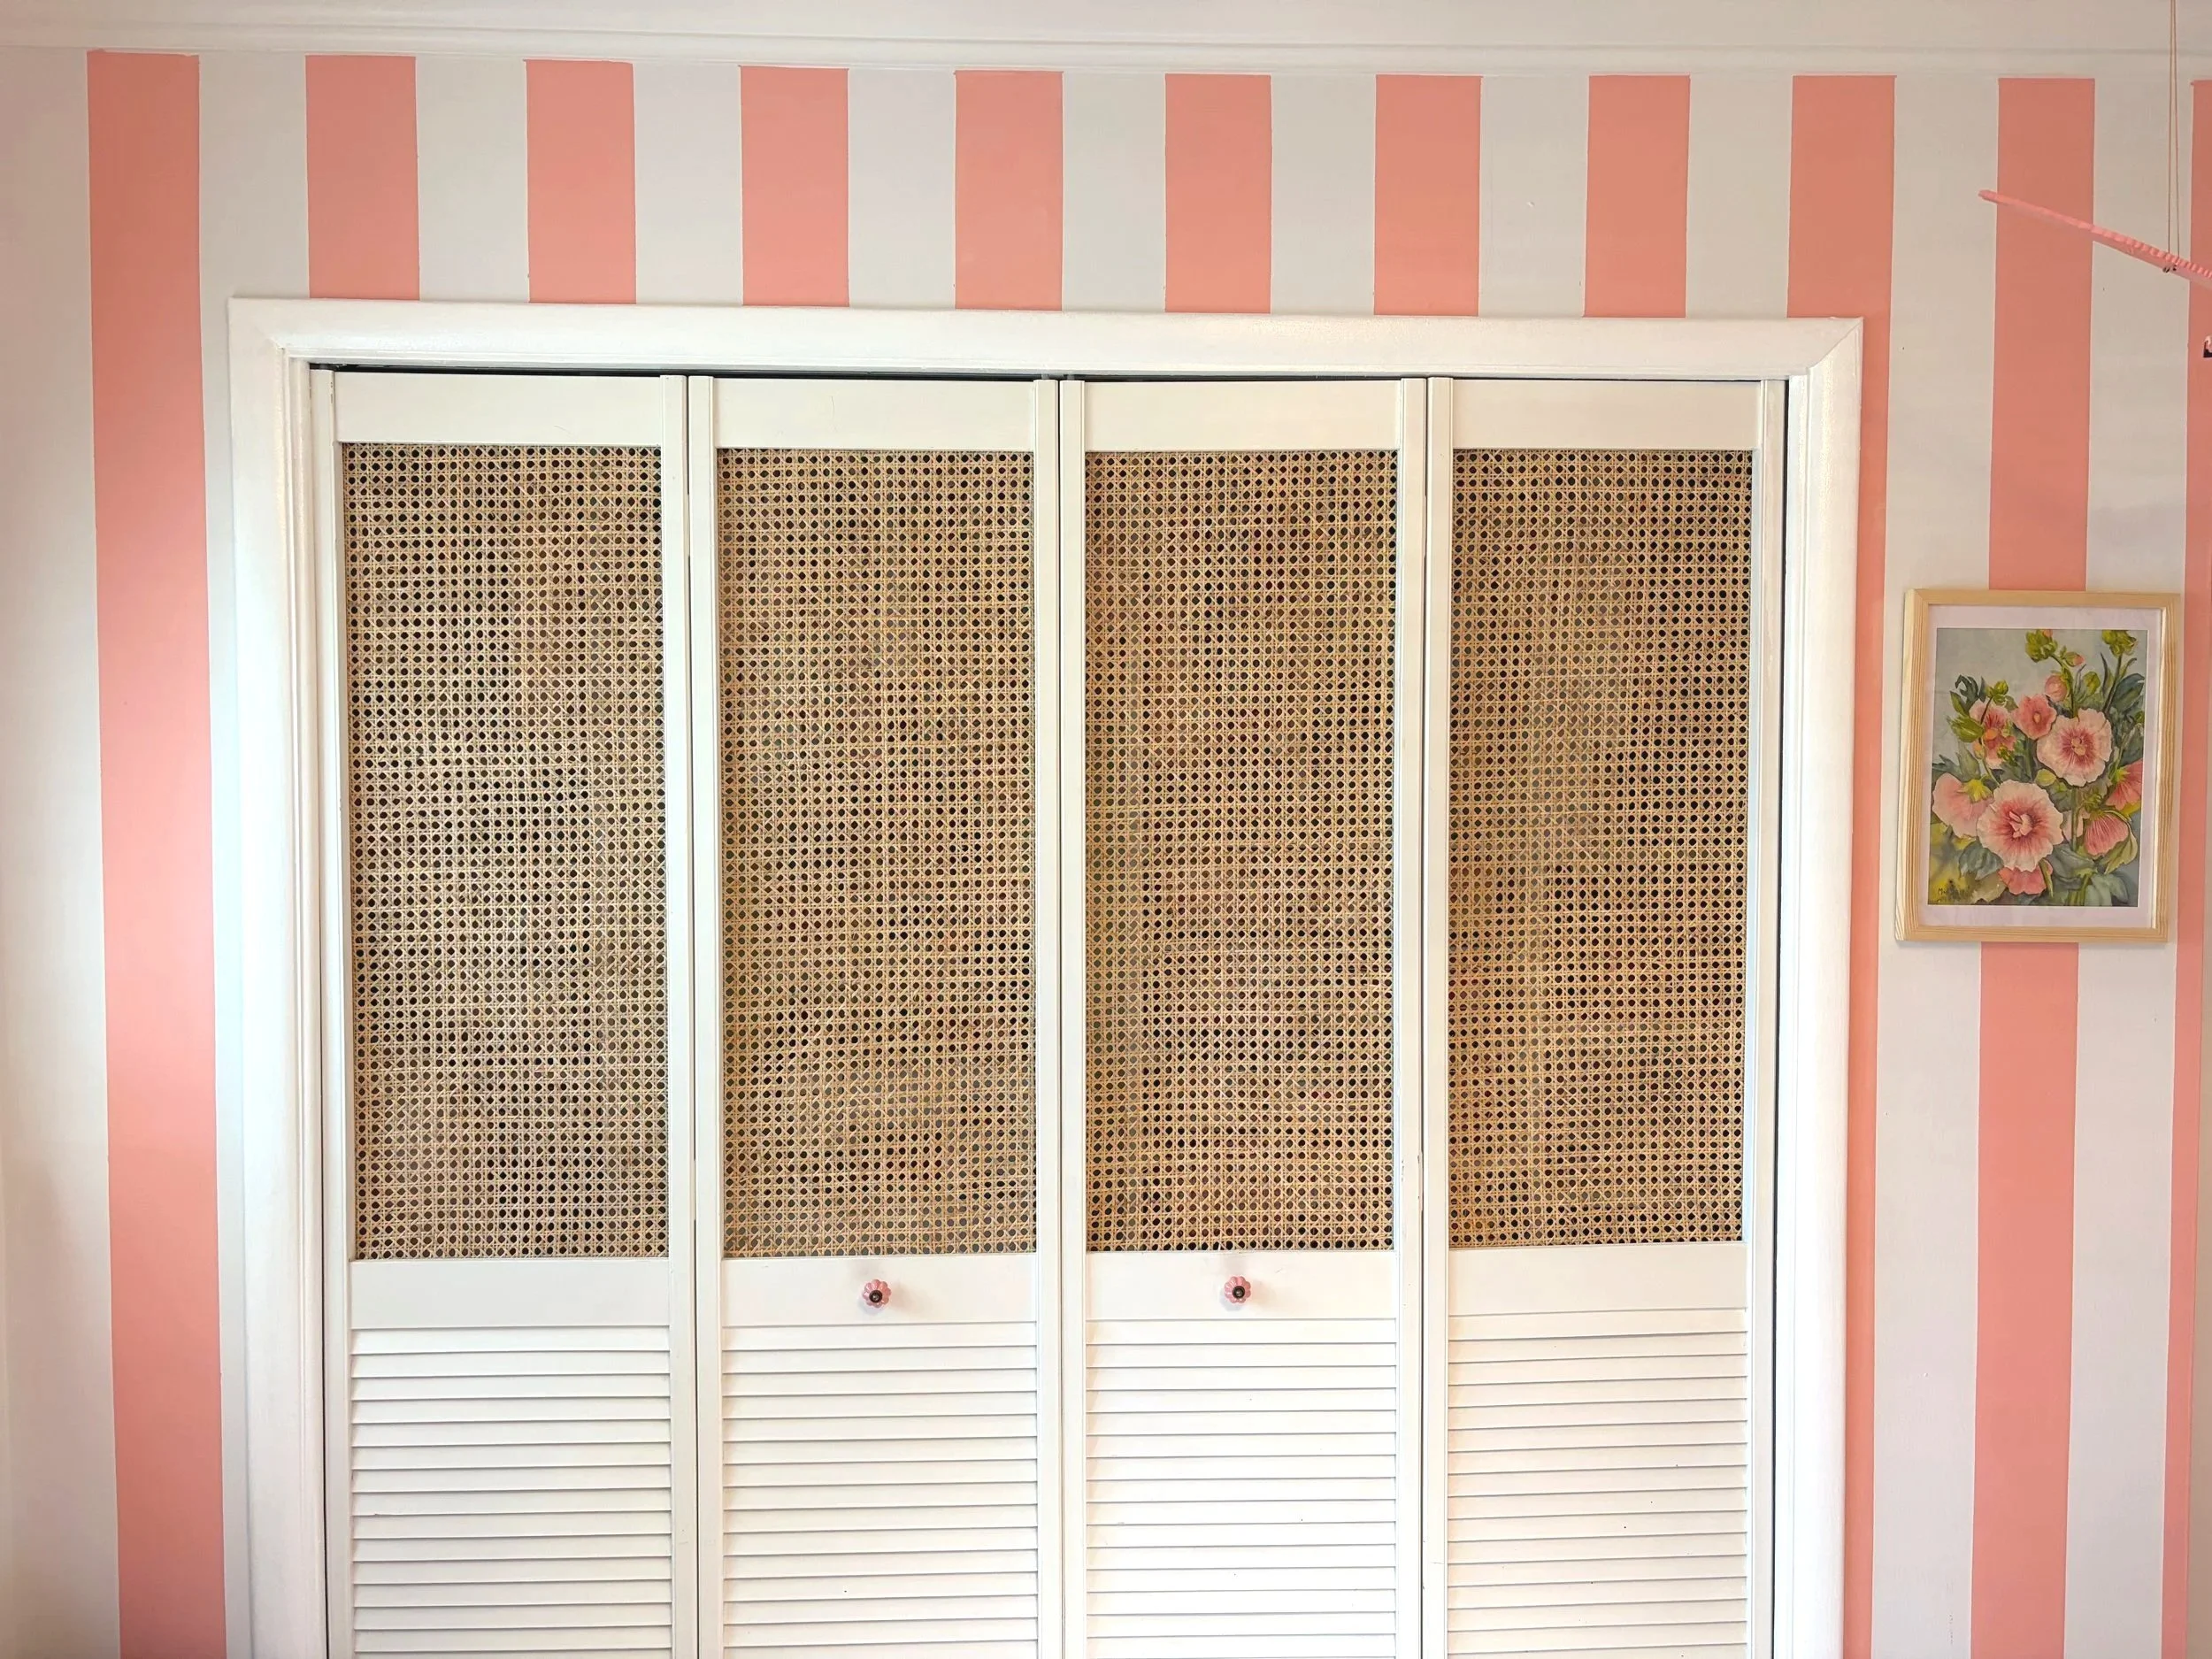
I chose half-inch hole cane because it strikes the right balance. It has that traditional, timeless look, but the openings are not so large that you can clearly see what’s inside the closet. You catch color and movement from the clothes behind it, but not full shapes. The result feels neat and intentional rather than busy.
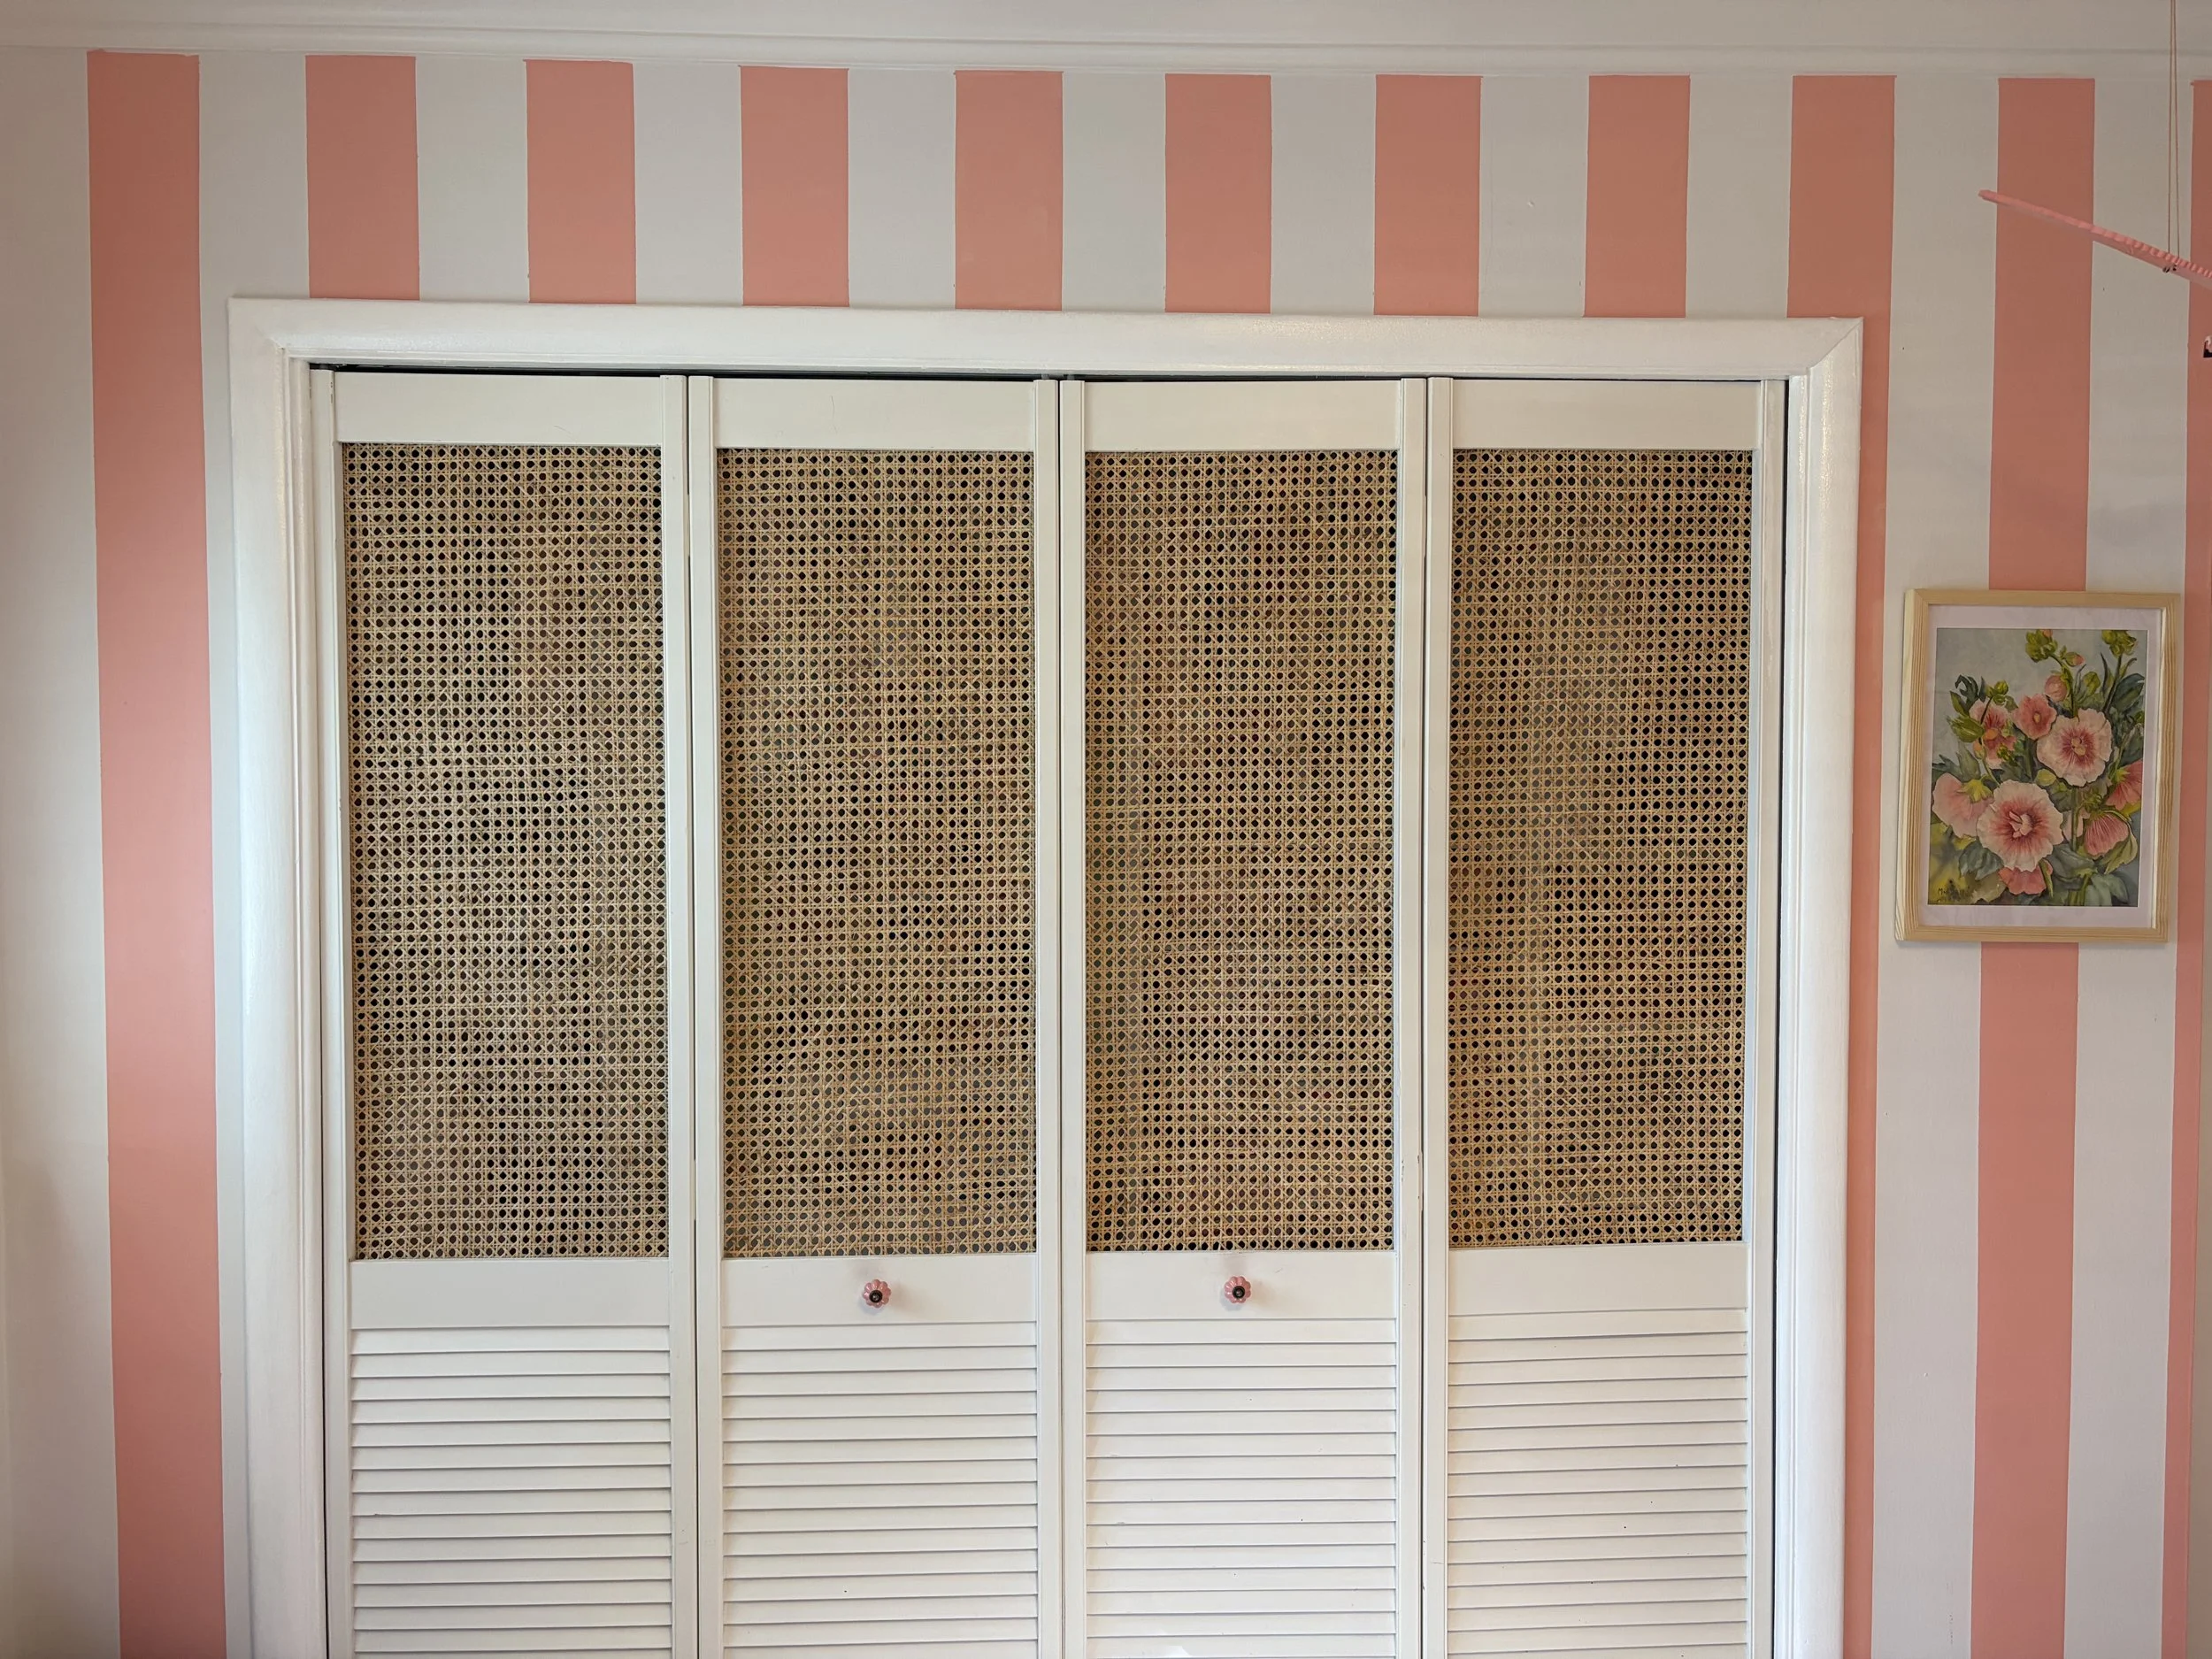
It also works with almost any direction. These doors fit just as well with early, loosely defined ideas as they did once I committed to the Colony-inspired wallpaper and cabana stripes.
What You’ll Need
Rattan cane webbing (half-inch hole)
Staple gun and staples
Jigsaw
Razor knife or scissors
Measuring tape
Pencil
Bathtub with warm water
Optional: new door knobs or pulls
Cane Source
I purchased my cane from Etsy. I ordered 18-inch width by 15 feet, which was enough for four doors. The listing does not specify hole size, but I confirmed with the seller ahead of time that it was half-inch holes.
Step 1: Cut and Soak the Cane
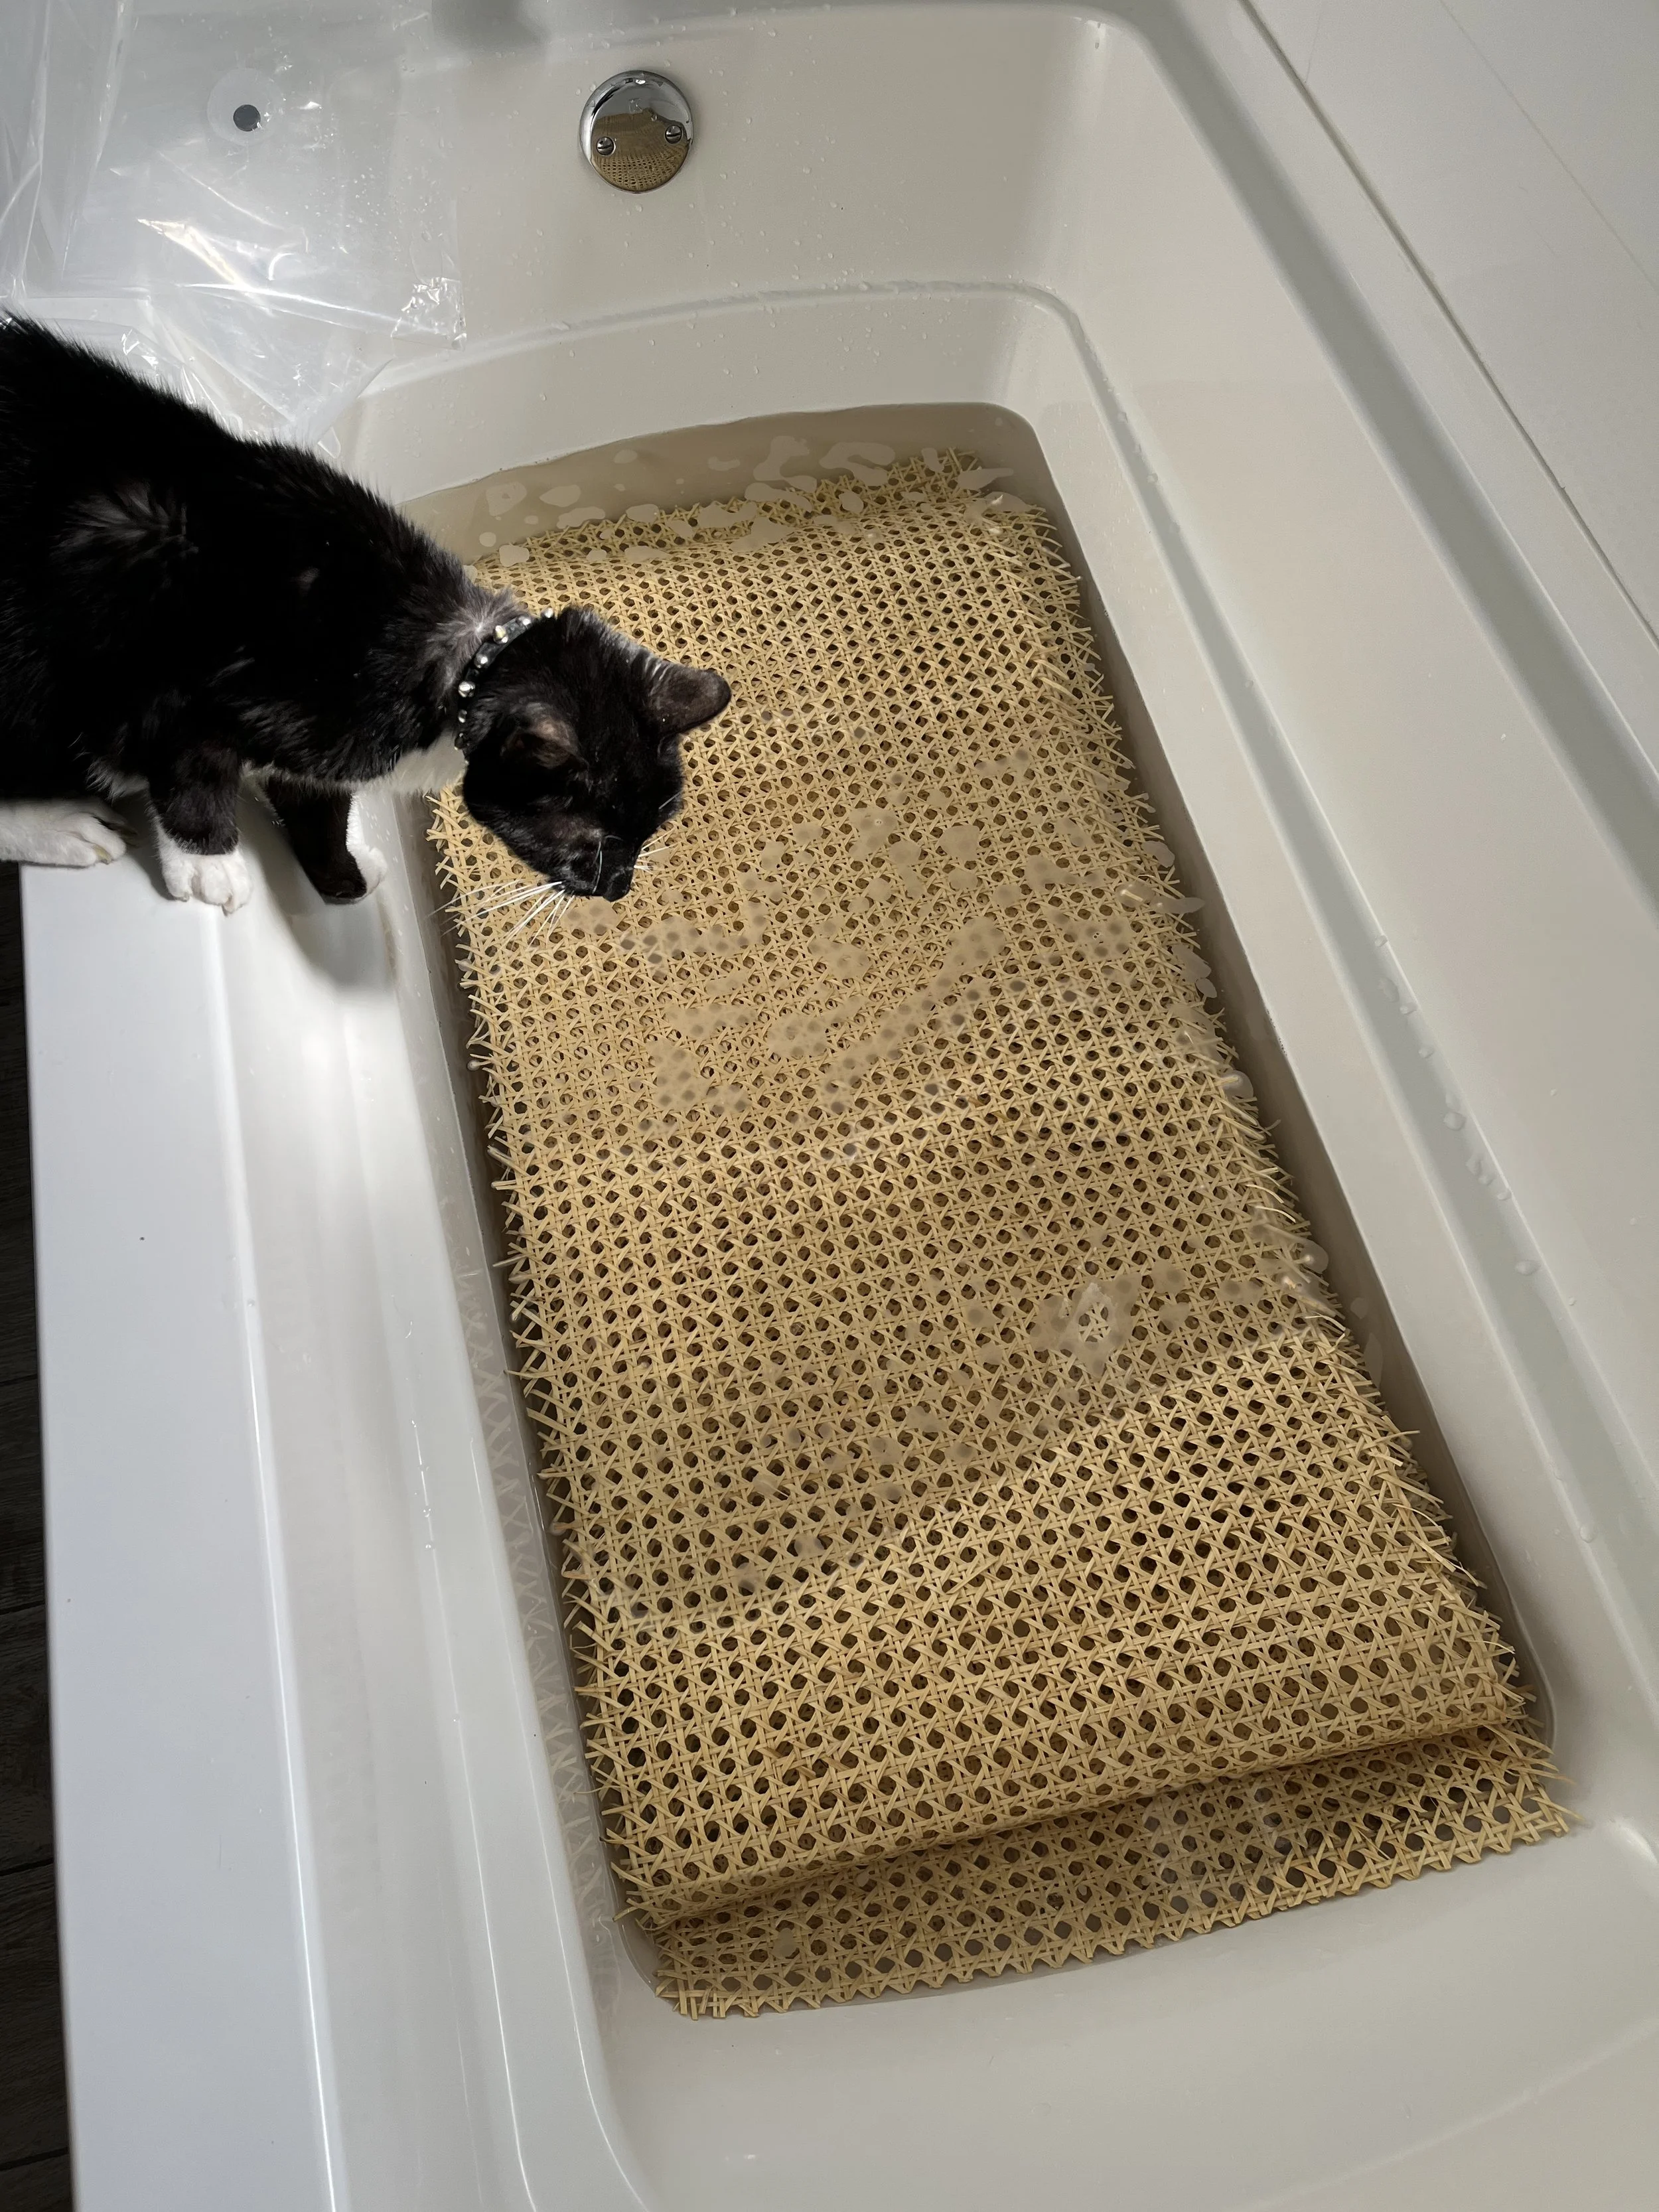
Measure each door opening and cut the cane to the size of the panel you are replacing, leaving 1.5 to 2 inches of extra material on all sides. Cut each piece before soaking so you are not wrestling with one massive, wet sheet of cane.
Place the cut pieces in a bathtub filled with warm water and let them soak for 30 to 45 minutes.
Tip: Once one piece is ready to install, put a fresh piece of cane into the tub so the next panel is soaking while you work.
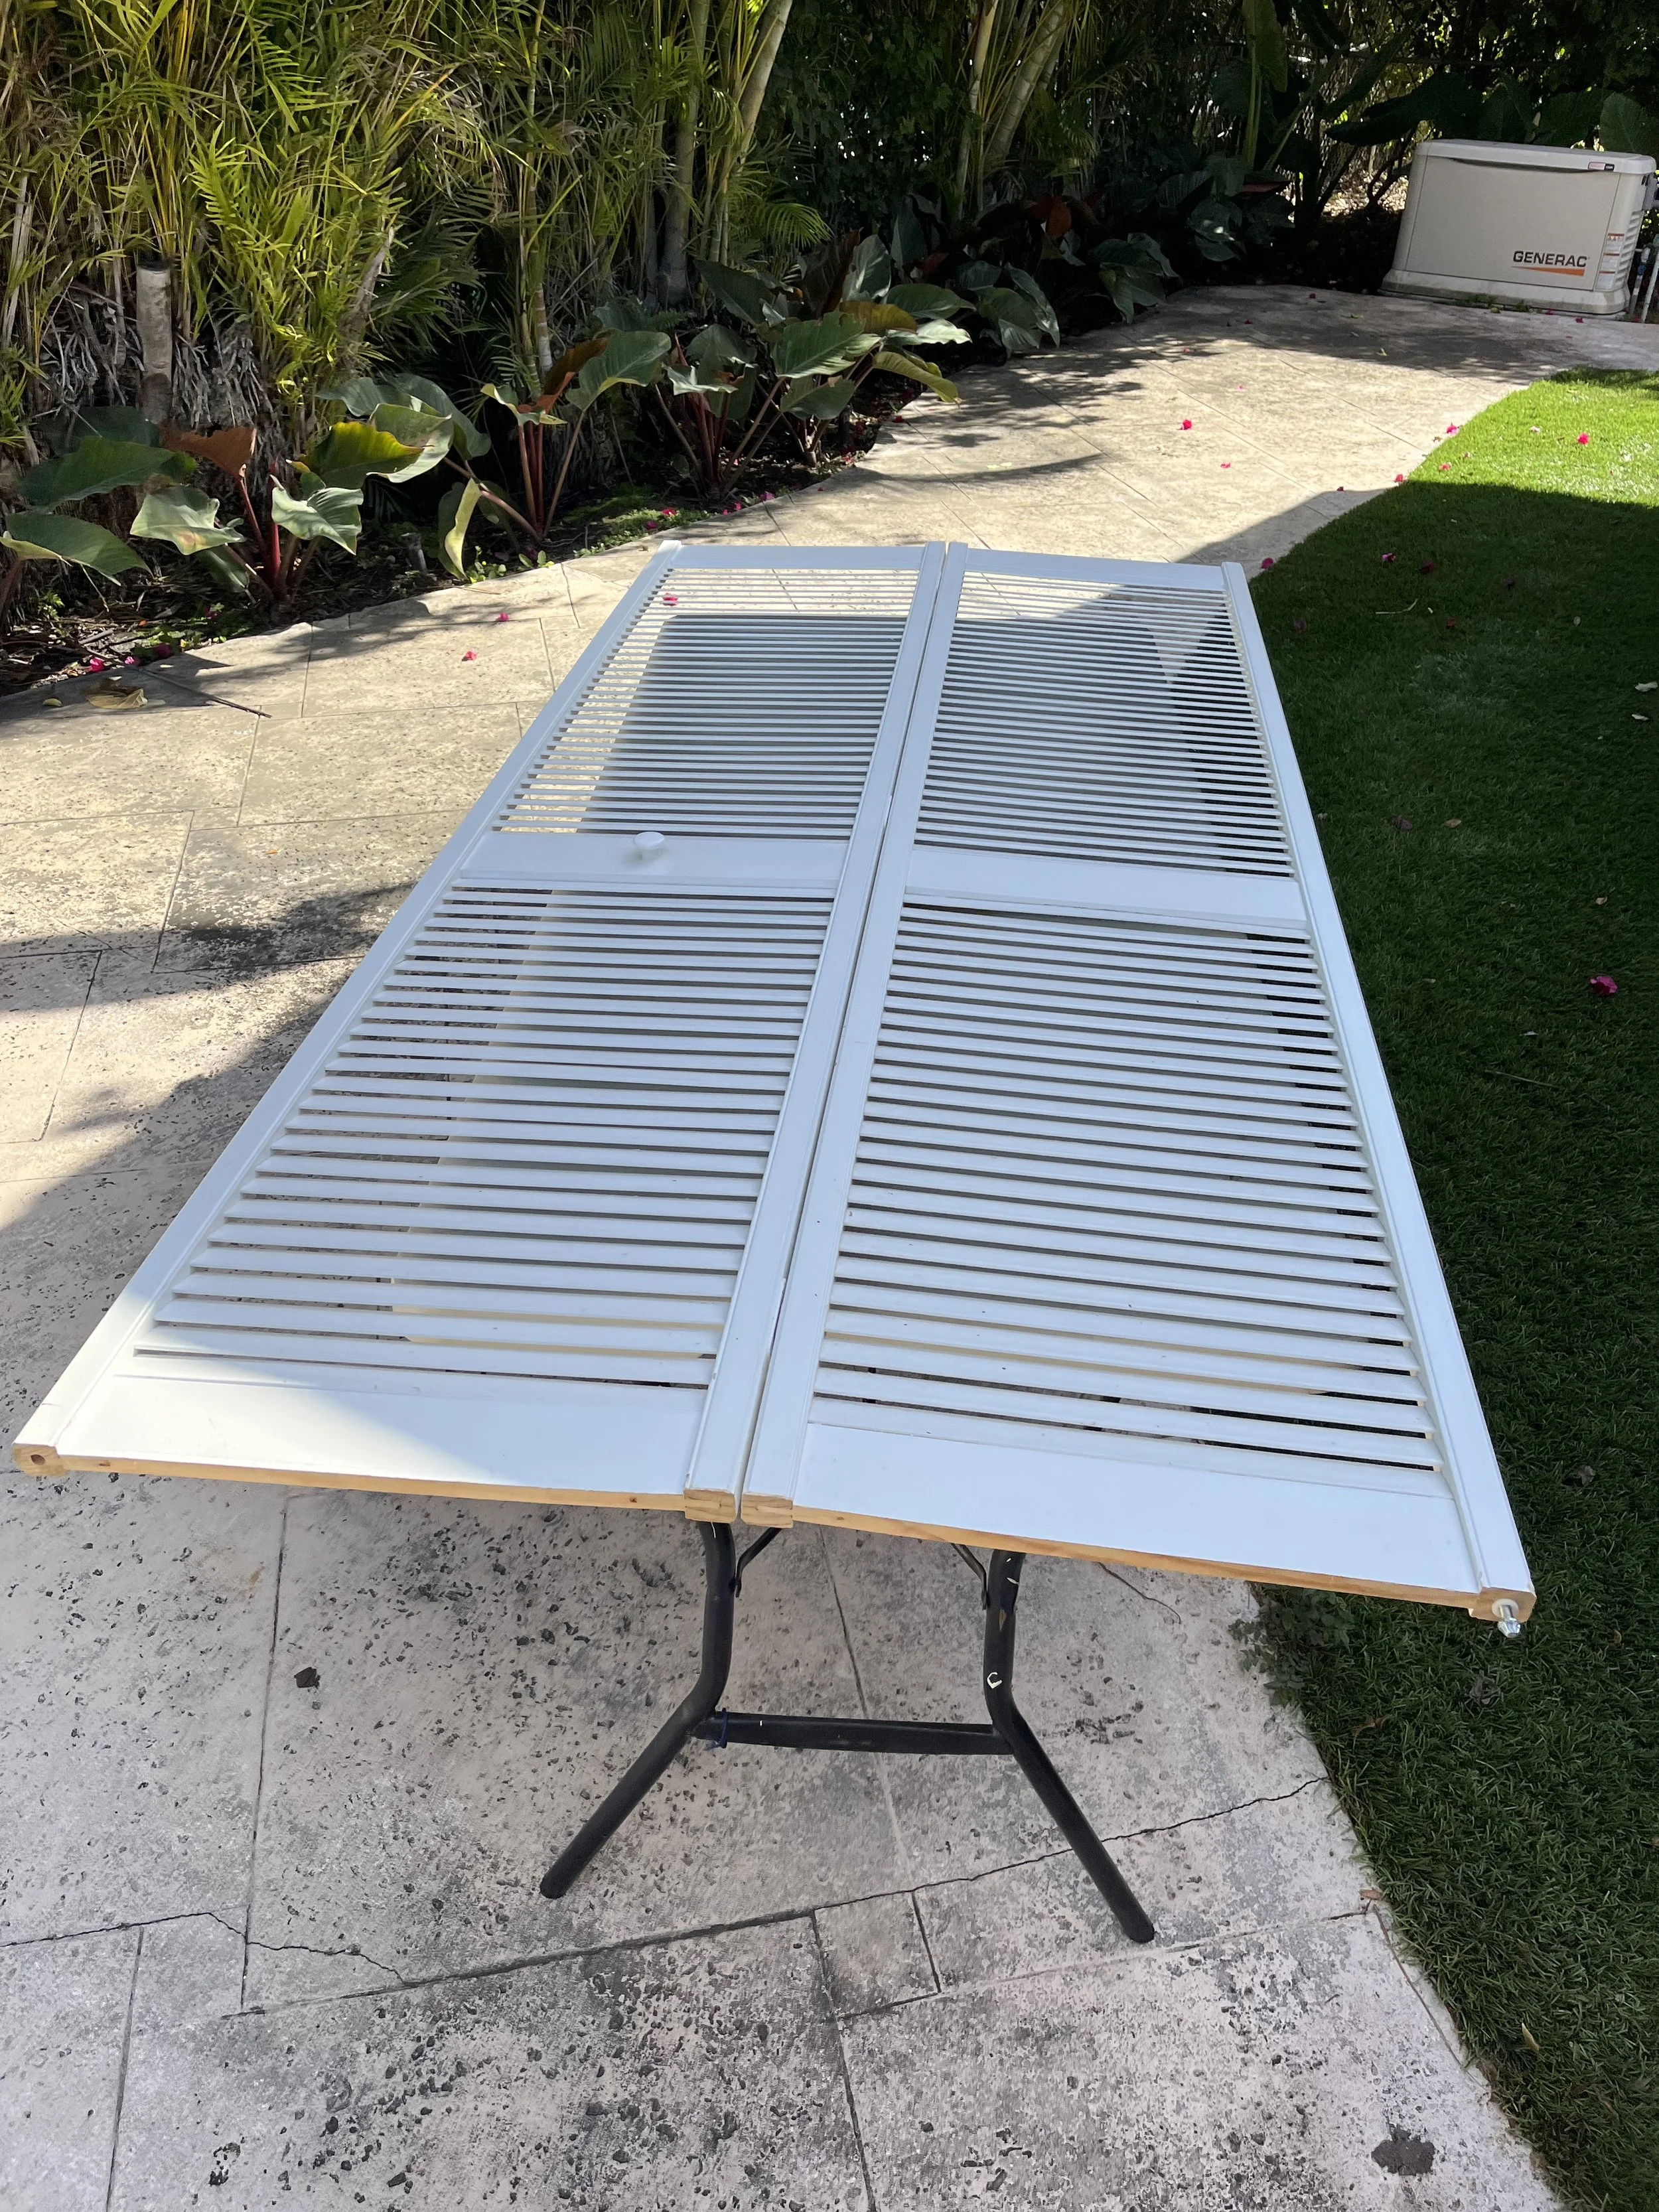
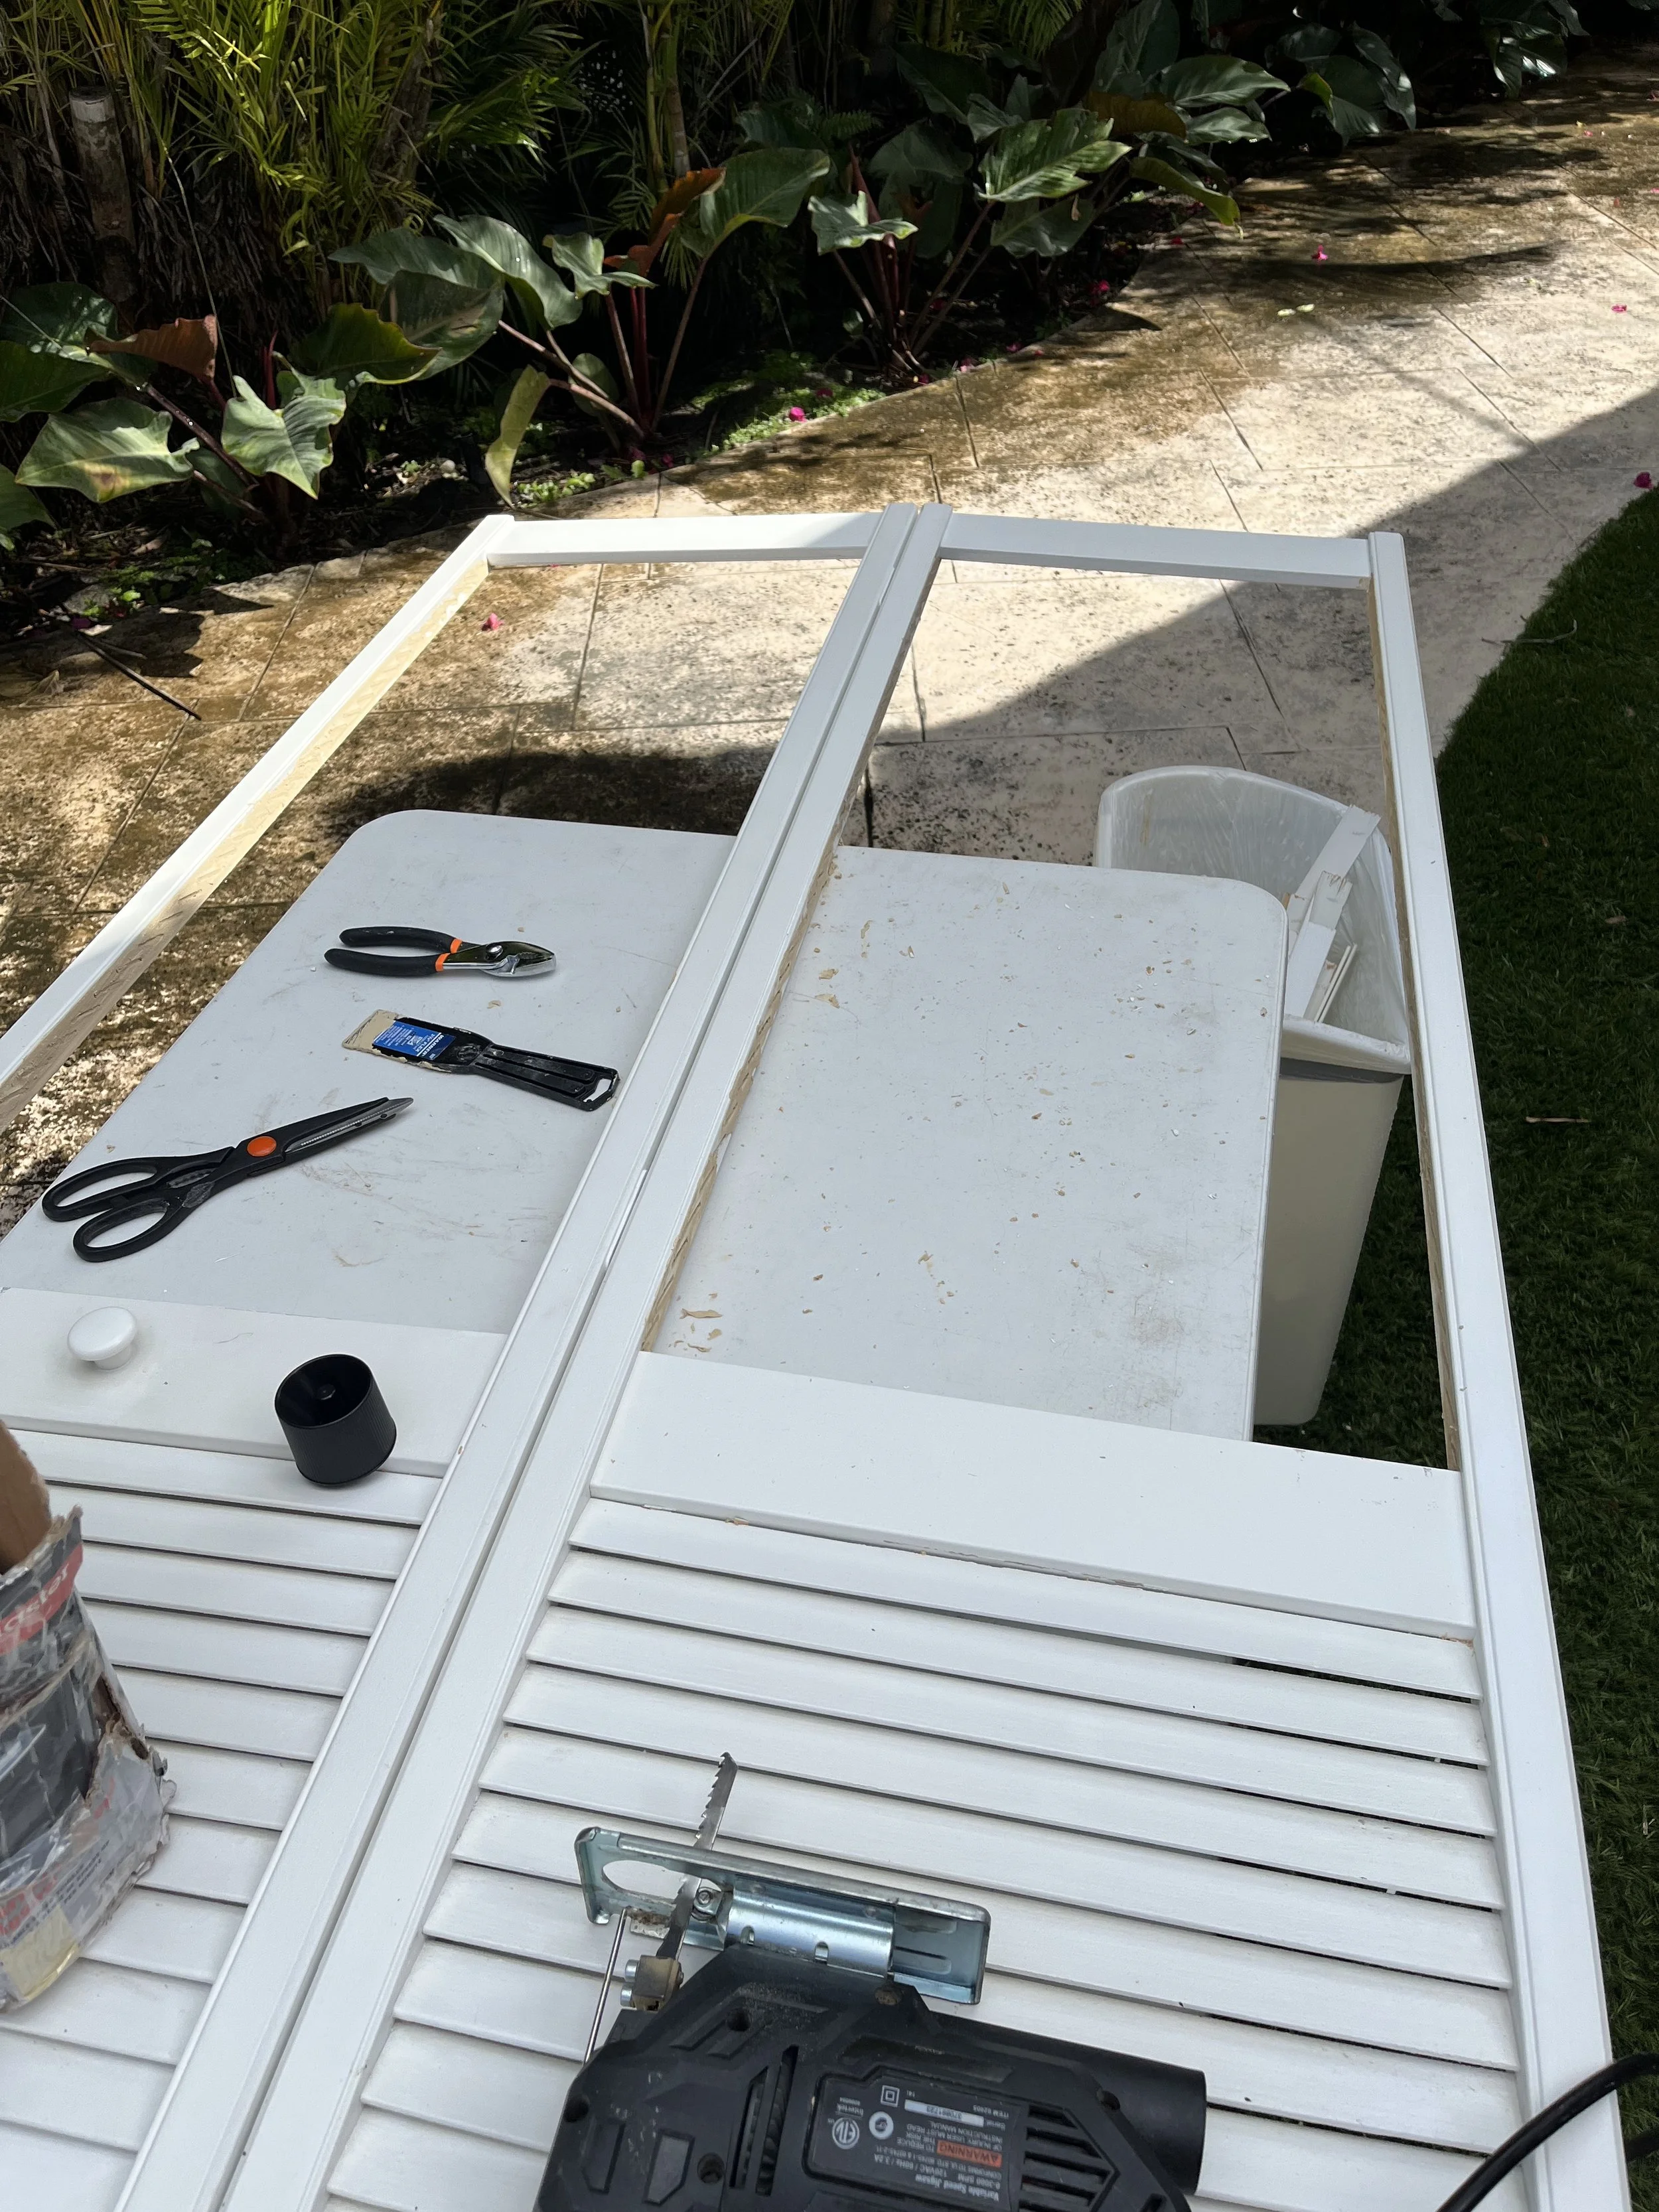
Step 2: Remove the Door Inserts
This takes about 5 minutes per door.
I used a jigsaw to remove the existing slats from the closet doors. Rather than trying to pry them out, I simply cut straight through the middle of each slat and then pulled the pieces away by hand. This made the process quick and avoided putting stress on the door frame itself. Once the slats were out, I lightly cleaned up the edges so the opening was ready for the cane.
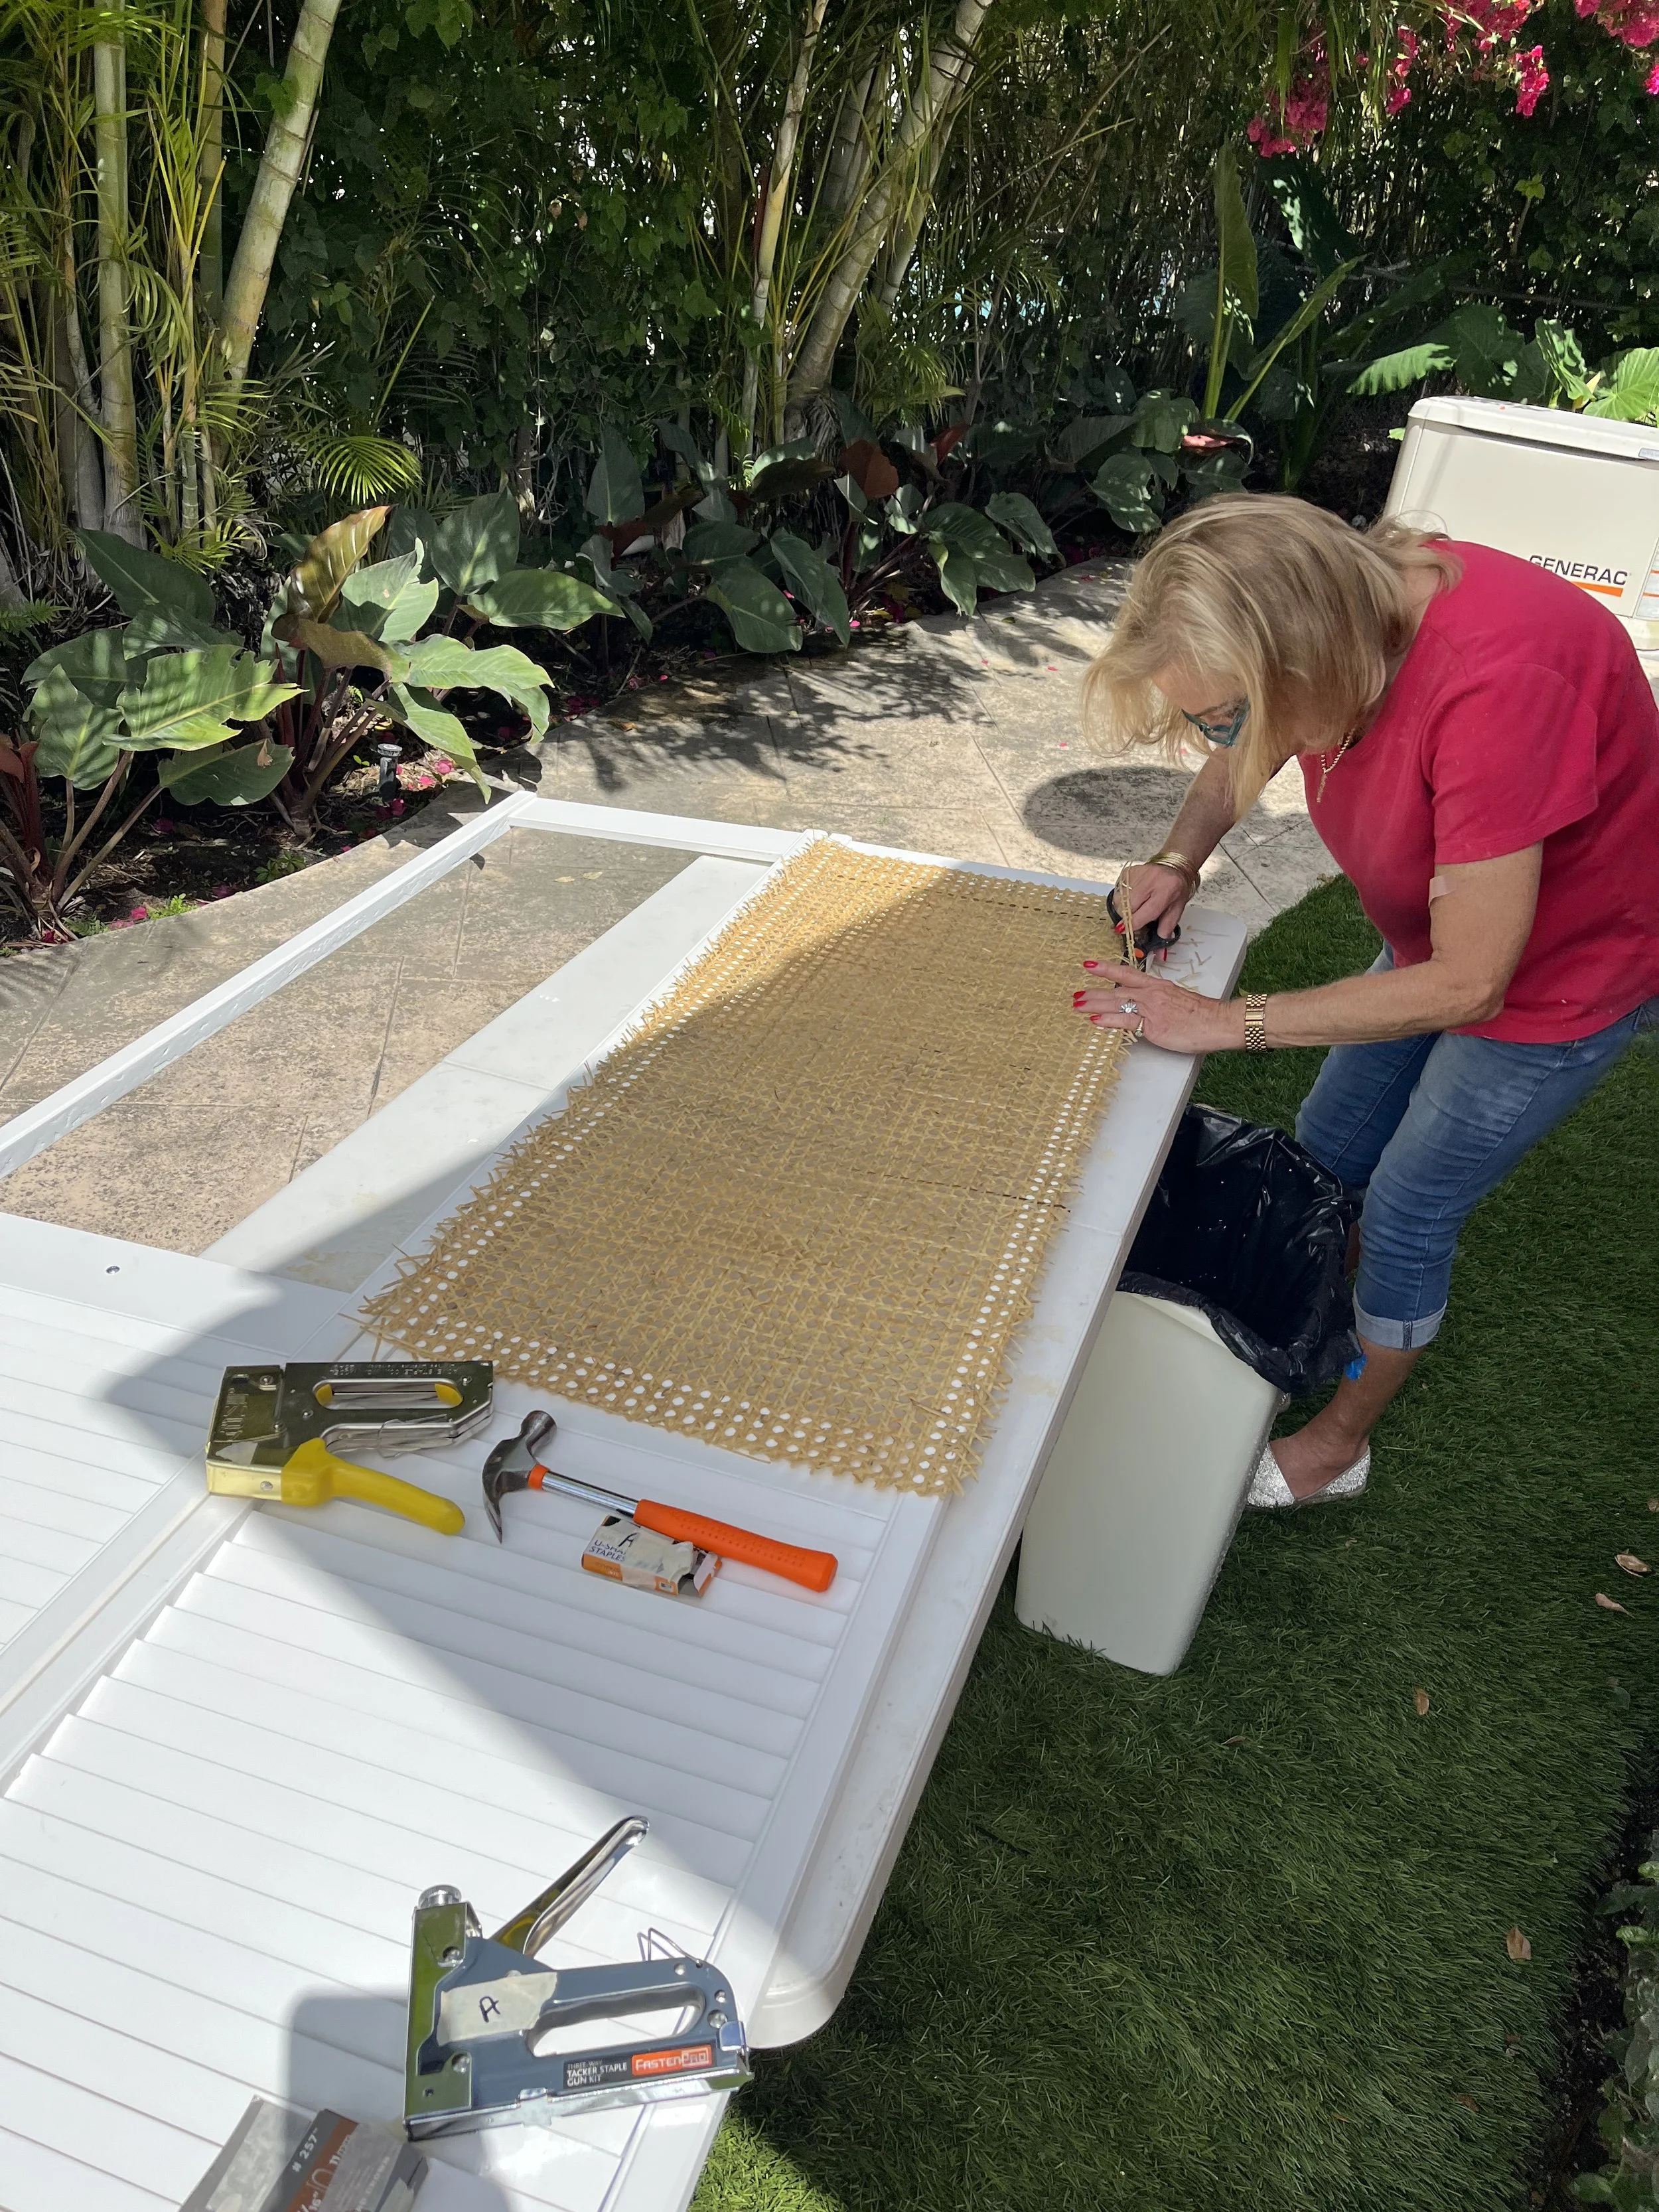
Step 3: Attach the Cane
Lay the soaked cane over the opening, making sure the pattern is straight.
Starting at the center of one side, staple the cane in place, then move to the opposite side, gently pulling the cane taut as you go. Work your way around the frame, alternating sides so the tension stays even.
This part takes about 20 minutes per door.
Do not overstretch the cane. It will tighten on its own as it dries.
Step 4: Let It Dry and Trim
Let the doors dry overnight. As the cane dries, it shrinks and pulls itself tight.
Once fully dry:
Trim any excess cane with a razor knife or scissors
Check staples and add any that feel necessary
One added benefit of cane is breathability. Air can circulate through the closet, which helps keep clothes feeling fresher over time.
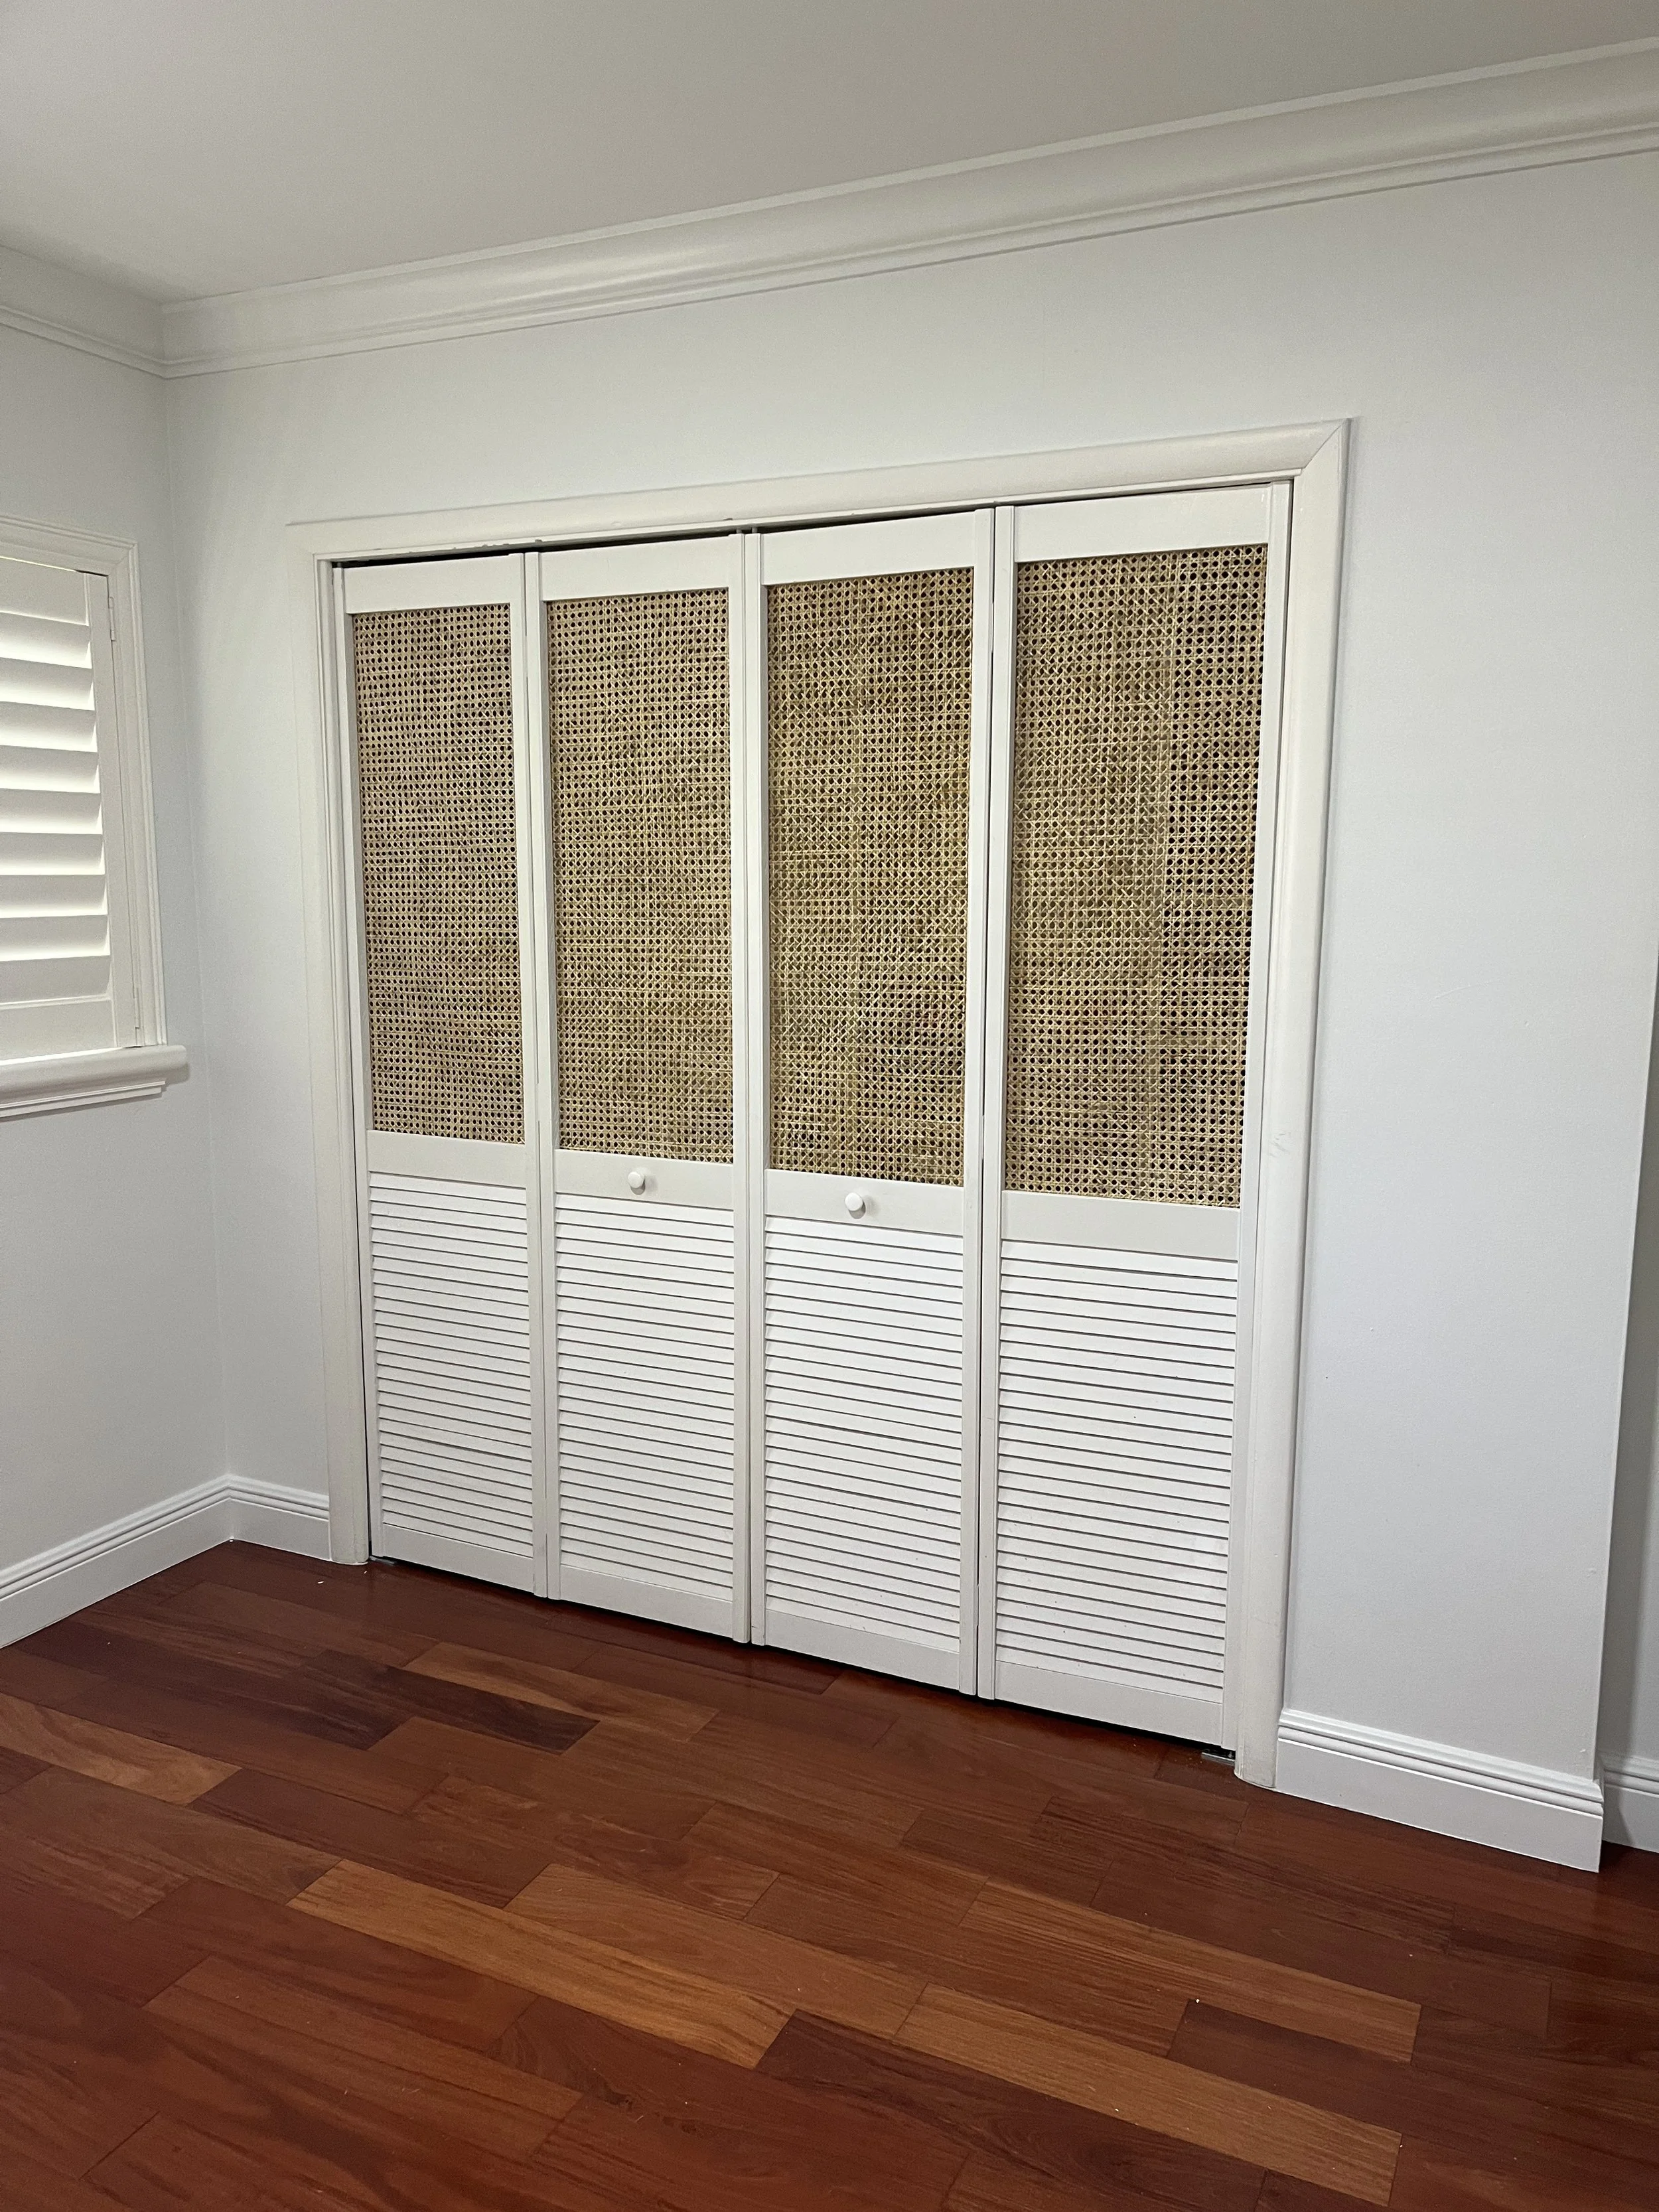
Bonus Step: Swap the Hardware
Replacing the knobs makes a bigger difference than you’d expect. I waited until the room was painted so I could choose something that worked with the final palette, but even a simple swap elevates the doors immediately.
This one change can completely shift a room. The cane brings in texture and softness without adding visual clutter, making any space feel more finished and intentional. It’s subtle, but the difference is immediate. And for the price of materials, it’s hard to think of another upgrade that can have such an immediate impact.